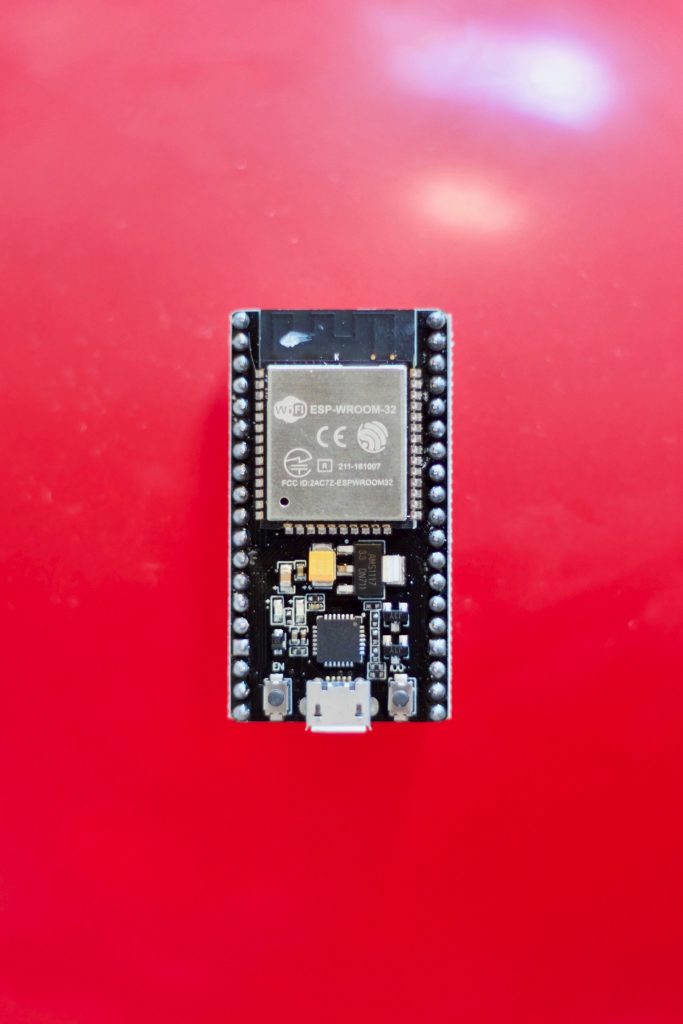
ESP32をアクセスポイントにした上、ウェブサーバーを立てる!
目次
ESP32 Access Point and Web Server!
前回、ESP32でLチカをやってみましたが
ESP32はそれより、はるかに色々できます!
Wifiのモジュールが搭載していますので
Wifiのクライアントになることがもちろんですが
ESP32自身がWifiのアクセスポイントにもなるのです!
さらに!
さらに、ESP32の中にウェブサーバーを立てることもできます!
今回の記事では、その方法を一挙ご紹介したいと思います!
いきなりソースコード
「Shut up, and show me code」はい、ソースコードはこれです!
これを実行すれば、OKです!笑
#include <WiFi.h>
#include <ESPmDNS.h>
#include <WiFiClient.h>

const char *ssid = "ESP32ap";
const char *password = "12345678";

/* TCP server at port 80 will respond to HTTP requests */
WiFiServer server(80);

///////////////////////////
void setup() {
  Serial.begin(115200);
  Serial.println();
  Serial.print("Configuring access point...");
  /* You can remove the password parameter if you want the AP to be open. */
  //アクセスポイントを起動する
  WiFi.softAP(ssid, password);

  IPAddress myIP = WiFi.softAPIP();
  Serial.print("AP IP address: ");
  Serial.println(myIP);
  //
  //サーバーセットアップ
  //
  /* Set up mDNS */
  if (!MDNS.begin("esp32")) {
      Serial.println("Error setting up MDNS responder!");
      while(1) {
          delay(1000);
      }
  }
  Serial.println("mDNS responder started");
  /* Start Web Server server */
  server.begin();
  Serial.println("Web server started");

  /* Add HTTP service to MDNS-SD */
  MDNS.addService("http", "tcp", 80);
}

void loop() {
  /* Check if a client has connected */
    WiFiClient client = server.available();
    if (!client) {
        return;
    }
    Serial.println("");
    Serial.println("New client");
    if (client) {
      Serial.println("new client");
      /* check client is connected */
      while (client.connected()) {
          /* client send request? */
          if (client.available()) {
              /* request end with '\r' -> this is HTTP protocol format */
              String req = client.readStringUntil('\r');
              /* First line of HTTP request is "GET / HTTP/1.1"
                here "GET /" is a request to get the first page at root "/"
                "HTTP/1.1" is HTTP version 1.1
              */
              /* now we parse the request to see which page the client want */
              int addr_start = req.indexOf(' ');
              int addr_end = req.indexOf(' ', addr_start + 1);
              if (addr_start == -1 || addr_end == -1) {
                  Serial.print("Invalid request: ");
                  Serial.println(req);
                  return;
              }
              req = req.substring(addr_start + 1, addr_end);
              Serial.print("Request: ");
              Serial.println(req);
              client.flush();

              String s;
              /* if request is "/" then client request the first page at root "/" -> we process this by return "Hello world"*/
              if (req == "/")
              {
                  IPAddress ip = WiFi.localIP();
                  String ipStr = String(ip[0]) + '.' + String(ip[1]) + '.' + String(ip[2]) + '.' + String(ip[3]);
                  s = "HTTP/1.1 200 OK\r\nContent-Type: text/html\r\n\r\n<!DOCTYPE HTML>\r\n<html>Hello from ESP32 at ";
                  s += ipStr;
                  s += "</html>\r\n\r\n";
                  Serial.println("Sending 200");
              }
              else
              {
                  /* if we can not find the page that client request then we return 404 File not found */
                  s = "HTTP/1.1 404 Not Found\r\n\r\n";
                  Serial.println("Sending 404");
              }
              /* send response back to client and then close connect since HTTP do not keep connection*/
              client.print(s);
              client.stop();

            }
        }
    }
    Serial.println("Done with client");
}
手順
①上のソースコードをArduino IDEにコピーしてファイル名をつけて保存しましょう。私はesp32apにしました。皆さんは自分の好きな名前でどうぞ。
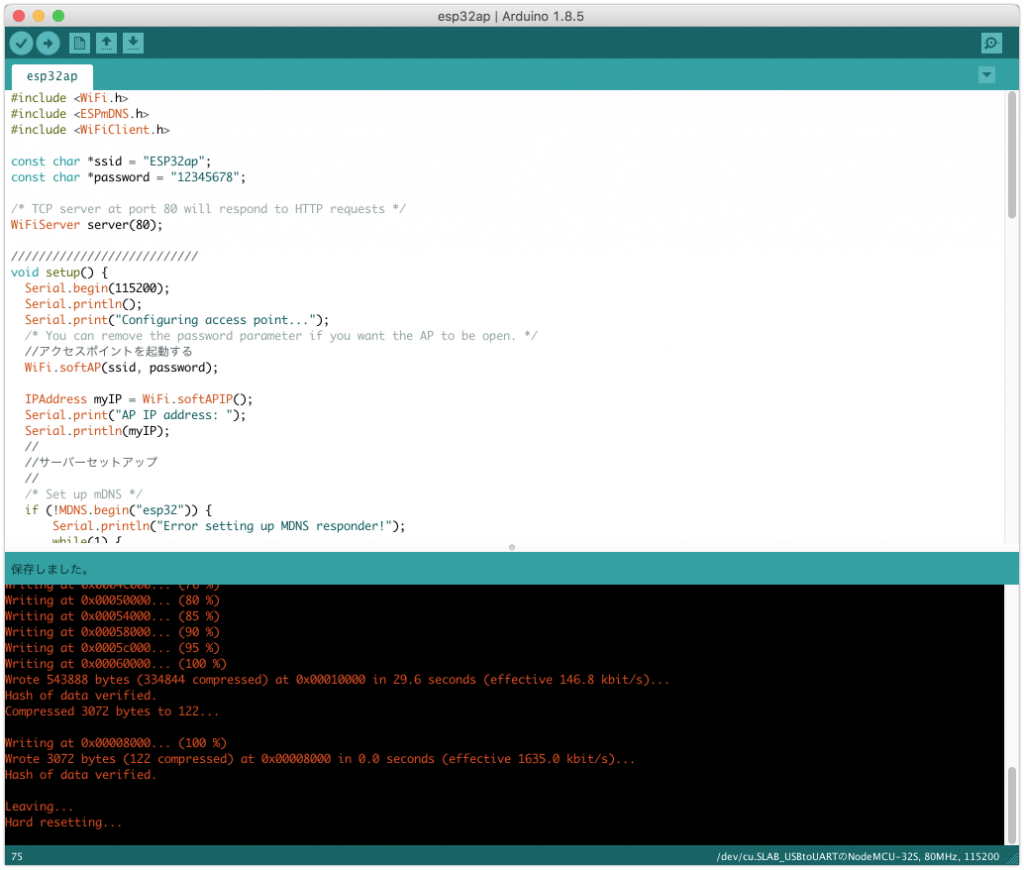
②それから、ボードへ書き込んでください。
③パソコンから、Wifiの接続候補リストを出してみてください。 プログラムの中に設定されているSSID:ESP32apが出ているはずです。
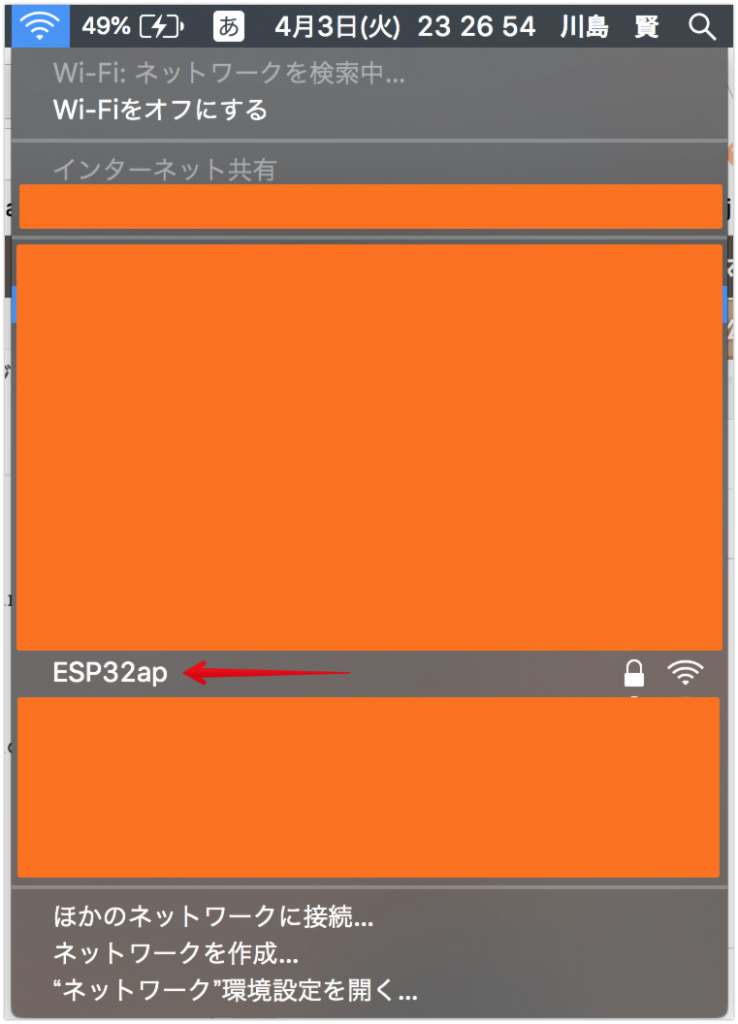
④ESP32apを選んで、パスワード「12345678」を入力して、Wifiに接続します!
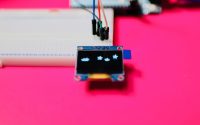
⑤接続が確立しましたら、ブラウザーで「https://192.168.4.1/」を開いてみてください。
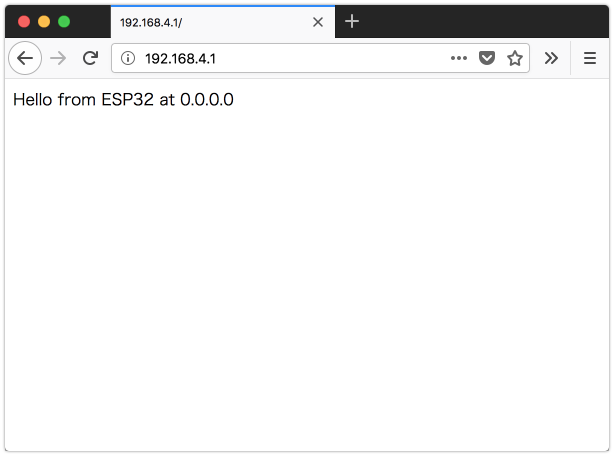
上の画面が出れば成功です!
おめでとうございます!
こな小さいChipにWifiアクセスポイントができて、ウェブサーバーも動いて、原理が分かっていても、ちょっと感動です!
いかがですか?
試してみませんか?
展望
これの発展系としては、次は、ウェブをREST APIを用意できれば
WebページからESP32に接続したサーボを制御したり、指示を送ったり
あるいは、ESP32に接続しているセンサー類からデータを取得して
ウェブに表示したりすることが普通にできるはずですね。
色々、楽しみです。
[amazonjs asin=”B0718T232Z” locale=”JP” title=”HiLetgo ESP32 ESP-32S NodeMCU開発ボード2.4GHz WiFi + Bluetoothデュアルモード”]
質問等があれば、私のTwitterでもDMしていただければ、可能な限りご回答を致します。
よろしくお願いします。
#soracom air #IoT #RaspberryPi #AK-020 #usb #simカード https://t.co/dMaj7bqpkO
— kawashimaken (@kawashimaken1) 2018年3月16日
ArduinoとHiLetgo I2C 128×64 OLED SSD1306液晶サクッと!動作確認!

Raspberry Pi をWifi Access Pointにする簡単な方法!
一昨日質問したはやです。JavaScriptのエラーが出てうまく動かないので、いろいろ調べました。
そうしましたら、まず、bootstrapを読込ませる位置が良くなかったようで、
src=”https://stackpath.bootstrapcdn.com/bootstrap/4.1.0/js/bootstrap.min.js”
をjQueryの読み込みの後に持ってきましたら、エラーは出なくなりました。
さらに、肝心のスライダーが表示されない件ですが、
の部分がなぜかwidth:0pxとして表示されていることが分かりました。
ここに無理やり
style=”width:80%;height:20px”
などと書き込んでみましたら、つまみは表示されないもののスライダーの輪郭だけは表示されるようになりました。適当にクリックすると角度が入力され、サーボが回りました。でも、bootstrapを使っていながらこんなダイレクトな指定はみっともないですよね。
きっとbootstrapのスライダーの形やサイズを明示的に指定してやると良いのだということは分かりましたが、指定の仕方はあちこち調べましたが分かりませんでした。
スライダーの形やつまみの形式を変更する書式がきっとあると思いますが、見つかりません。川島さんの方でこの方法が分かりましたら、ドキュメントの所在など教えていただければ、と思います。
画面はこんな感じです。前回はスライドバーが全くありませんでしたが、今度は枠だけ見えます(笑)
https://photos.app.goo.gl/ktQWzeVkKN2P81gu8
すみませんすみません、違う場所に書いてしまいました。
こちらへのコメントのつもりでした。
↓
https://kokensha.xyz/iot/control-servo-from-web-with-esp32/
すみません、これは削除して下さい。
正しい記事にコメントを投稿し直しました。