Ubuntu16.04LTSにpython3を入れる方法
Ubuntu 16.04 LTSが2016年にリリースしたUbuntuのLTSですね。
Ubuntuを使っている人は、みんなこのバージョンじゃないですかね。
しかし、あと、9日間で、次のLTSのリリースですね。楽しみです。
https://wiki.ubuntu.com/BionicBeaver/ReleaseSchedule
スケジュールは上のリンクで確認できます。2018年4月26日だそうです。
名前はBionicBeaverです。
Ubuntu 18.04 LTSでは、Python3がデフォルトになるようです。
このタイミングではありますが(18.04を待てば、Python3です。笑)
Ubuntu 16.04 LTSにPython3のインストールの仕方を共有します。
Ubuntu 16.04 LTSにはデフォルトで Python2.7もPython3(3.5)が入っていますが
デフォルトでは pip がインストールされていませんので、インストールしておきます。
sudo apt install python3-pip python3-dev
sudo apt install python-pip python-dev
これで OKです。
あと、Python3のプログラムで使いたいパッケージは
下記のように、インストールしてください。
pip3 install watchdog
その上、Python3のプログラムを動かすためには、下記のように実行してください。
python3 yourtest.py
つまり、3で作業を進めるなら、全部3のコマンドで統一してくださいということですね。
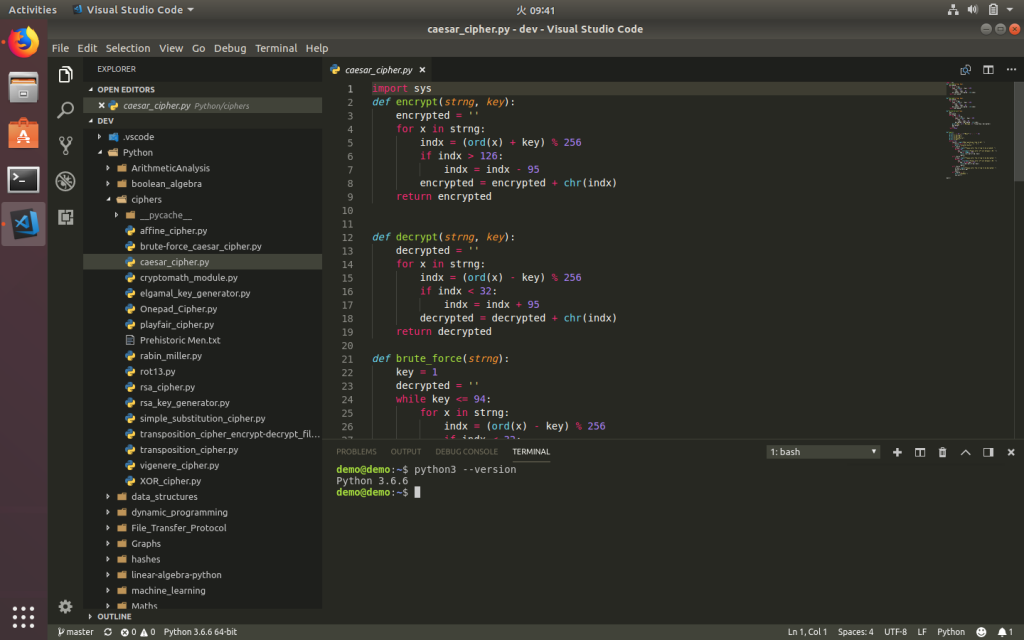
ちなみに、今(2018年9月25日現在)私のUbuntu 18.04には
Python 3.6.6が入っている模様です。

思ったほど、難しくないです。笑
[amazonjs asin=”4873117380″ locale=”JP” title=”入門 Python 3″]
[amazonjs asin=”4822292274″ locale=”JP” title=”独学プログラマー Python言語の基本から仕事のやり方まで”]


