RaspberryPi+Python+PCA9685で複数のサーボを制御する!簡単!
電子工作で特にちょっとロボットを作りたい場合
複数のサーボを動かしたい場合がありますよね。
複数のサーボを動かすにはいくつかの方法があります。
- 今回ご紹介する方法、RaspberryPi+Python+PCA9685で複数のサーボを制御する
- RaspberryPi(あるいはPC)+Firmata+Arduino+PCA9685
- Arduino Mega256などたくさんのGPIOが実装されているコントローラボードを利用する
- Motor Driver Sheild
[amazonjs asin=”B0773YVGSH” locale=”JP” title=”SparkFun Wireless Motor Driver Shield”]
まず一番目の方法をご紹介します!
RaspberryPi+Python+PCA9685で複数のサーボを制御する方法、とても簡単です!
目次
ハードウェア
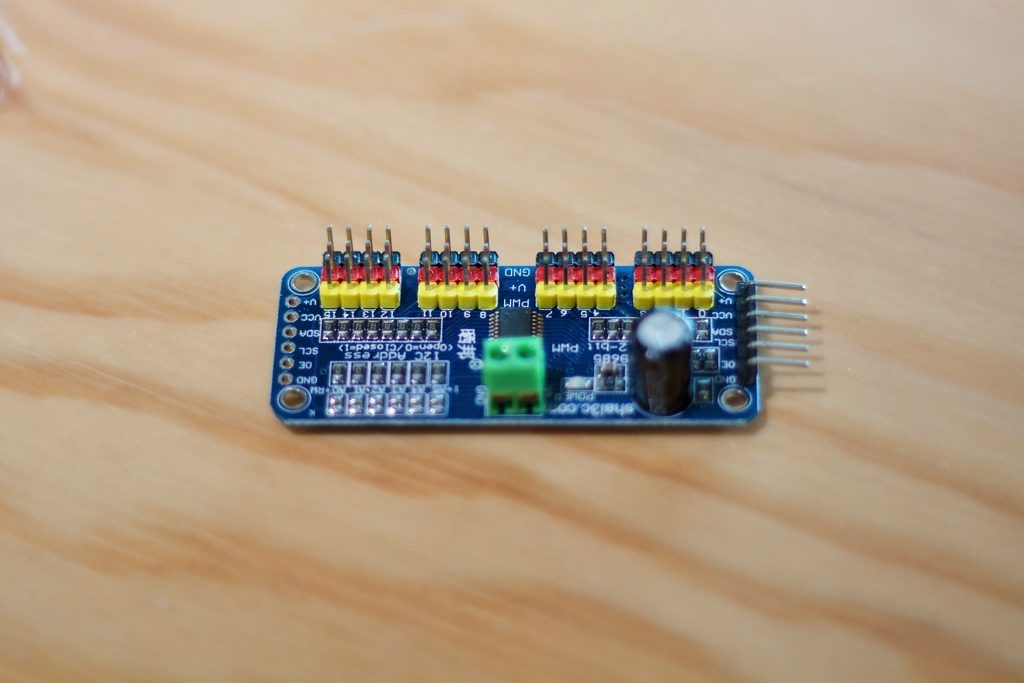
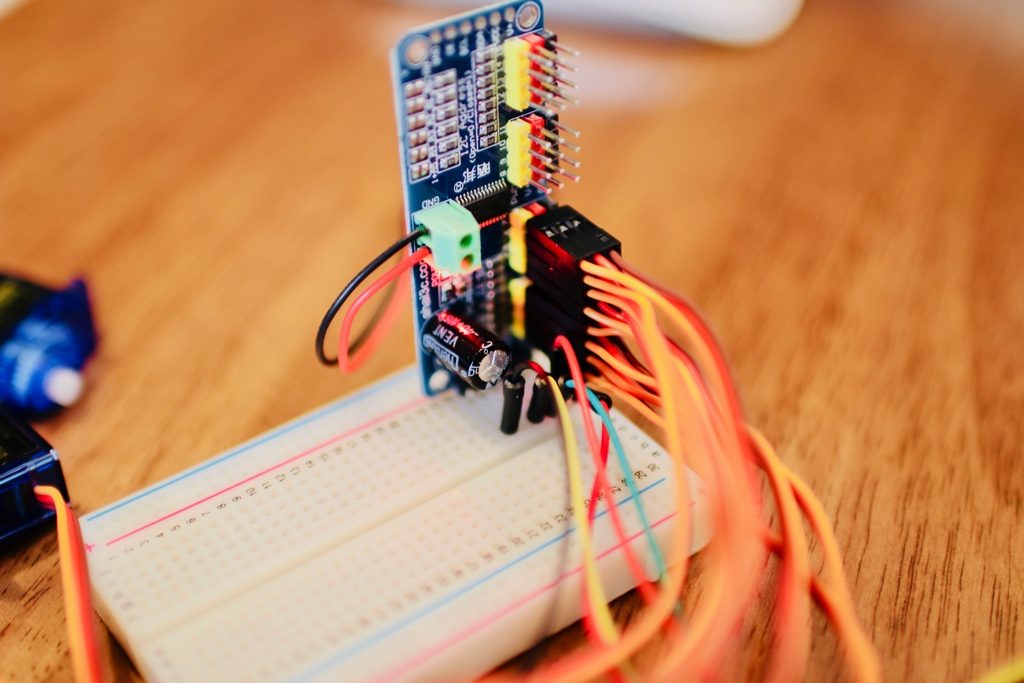
①まずは、主役のPCA9685です!
こちら!
緑のソケットは、複数の大出力サーボを動かすときに電力を補強するときに使います。
PCA9685がPythonでRaspberryPiで簡単にサーボを動かせますが
留意点として、ACモーターと100% デジタルサーボは動作しないことです、気をつけてください。
②もちろんRaspberry Pi
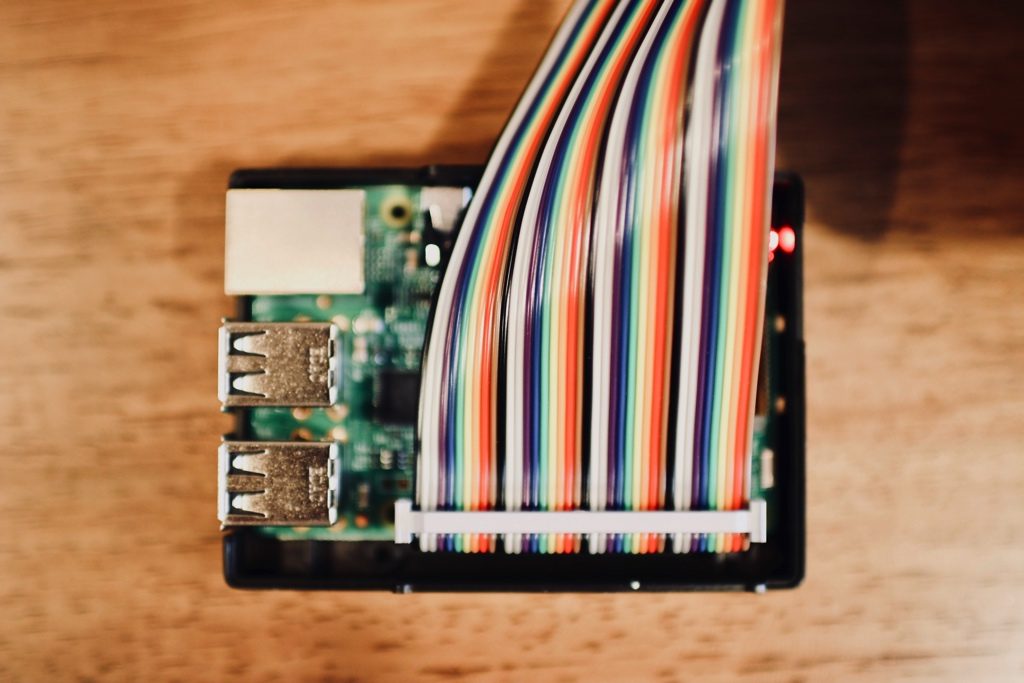
蓋が閉めていない状態のRaspberryPi 3Bです!
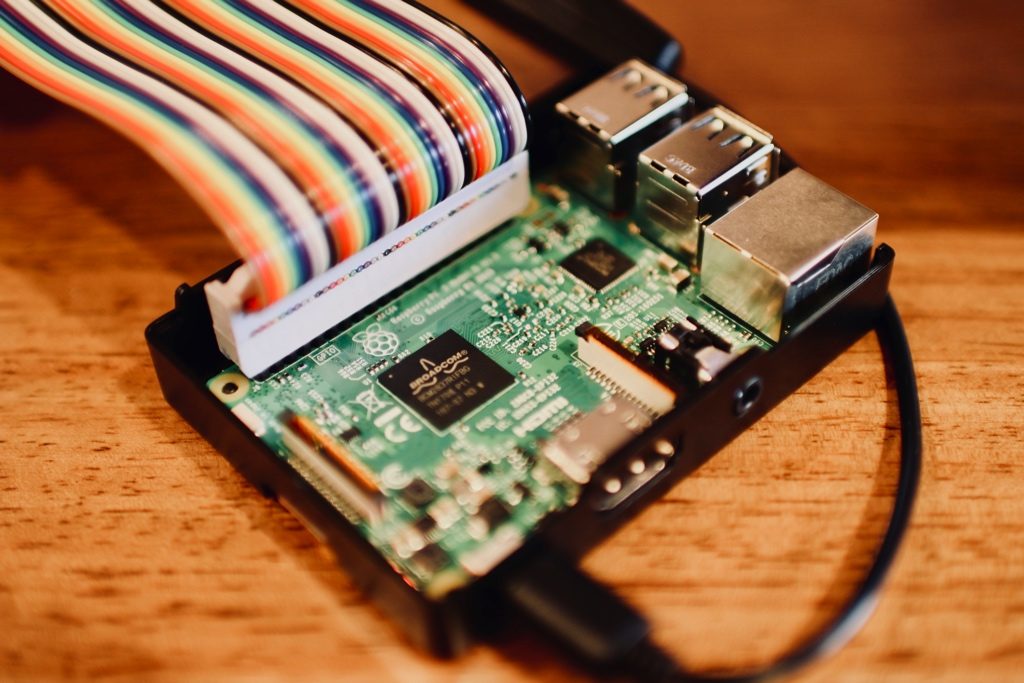
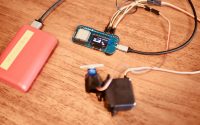
電源を繋げた状態
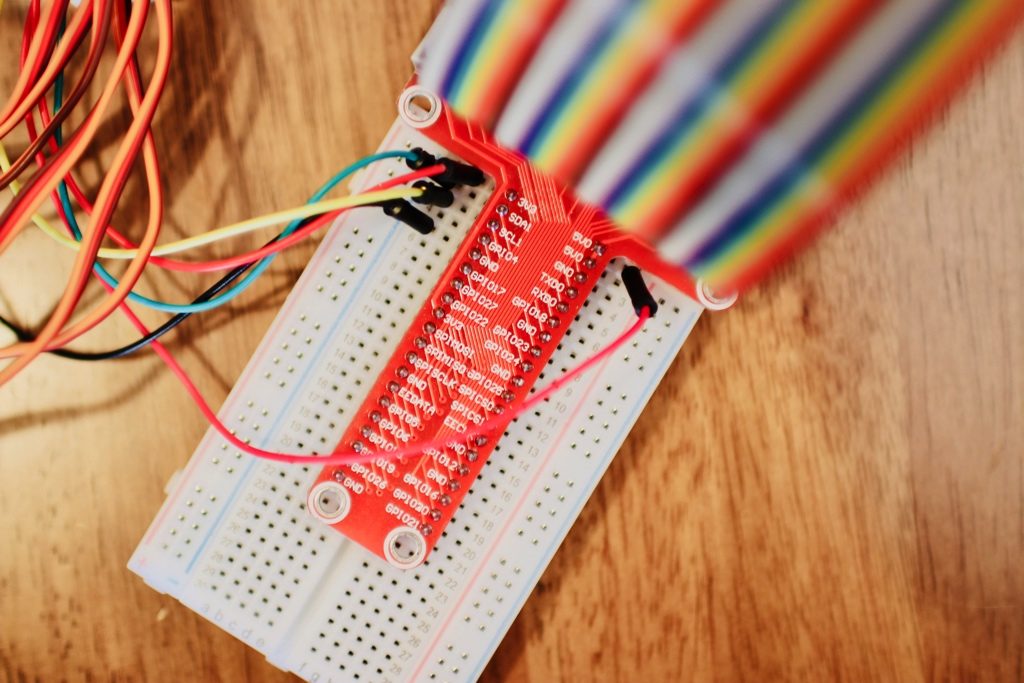
今回は、便利な虹リボンケーブルもを一緒に使ってみます!笑
[amazonjs asin=”B074H1FNTJ” locale=”JP” title=”Kuman Raspberry Piに適用キット 400MB-102はんだなしブレッドボード+GPIO T型拡張ボード+2in1虹リボンケーブル+35*ジャンパケーブルワイヤ ラズベリーパイ Raspberry Pi 3 / Zero/ zero W/ 2 / B+ / A+ K80″]
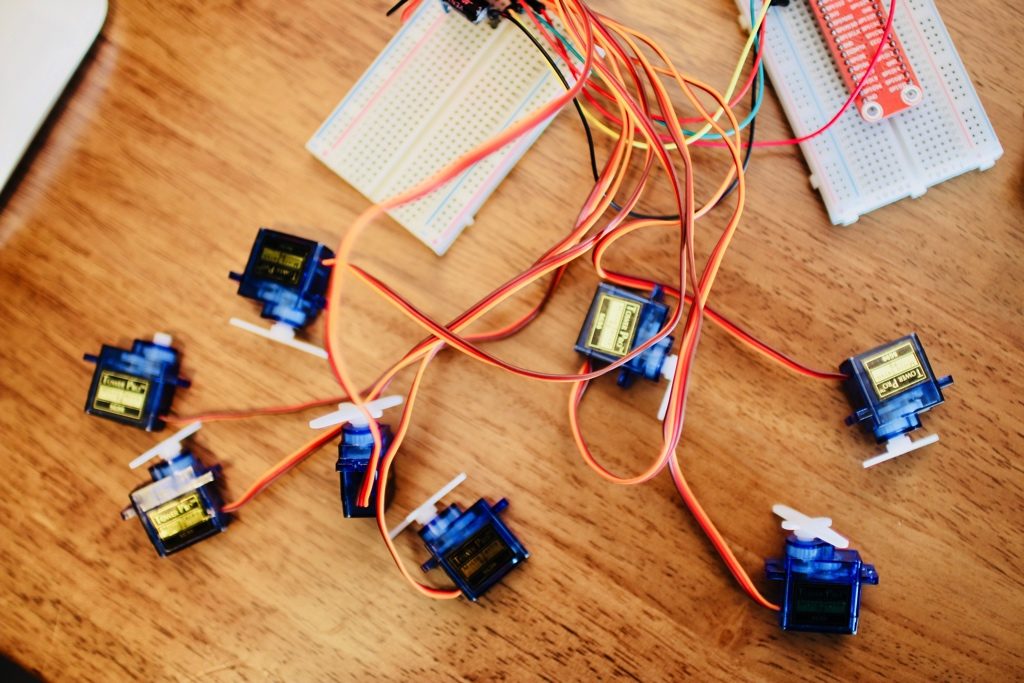
③動かすサーボたち!
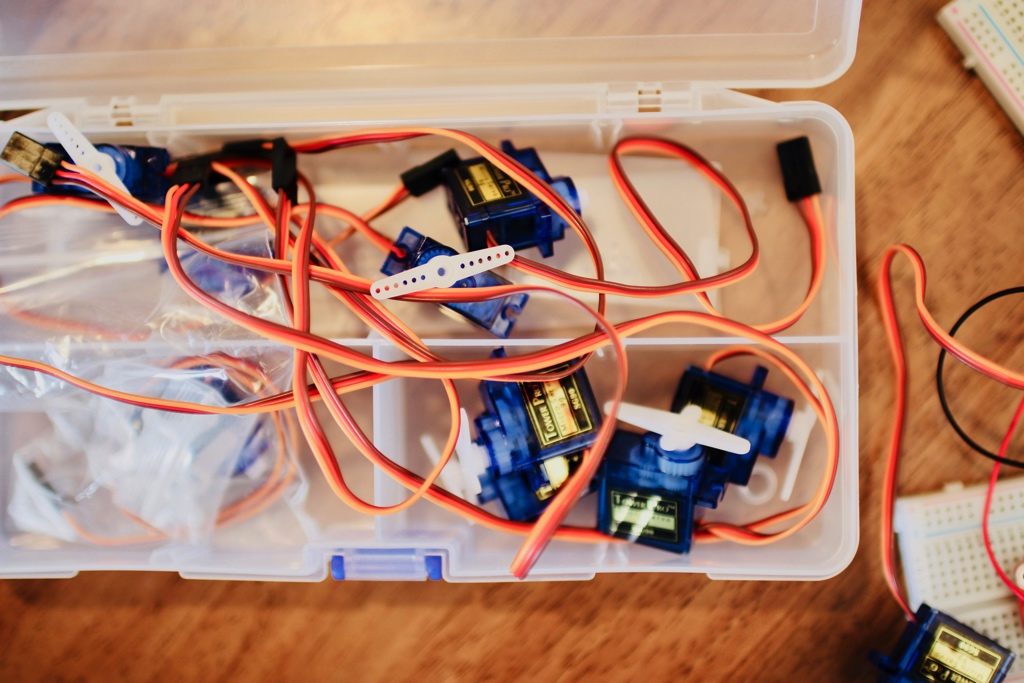
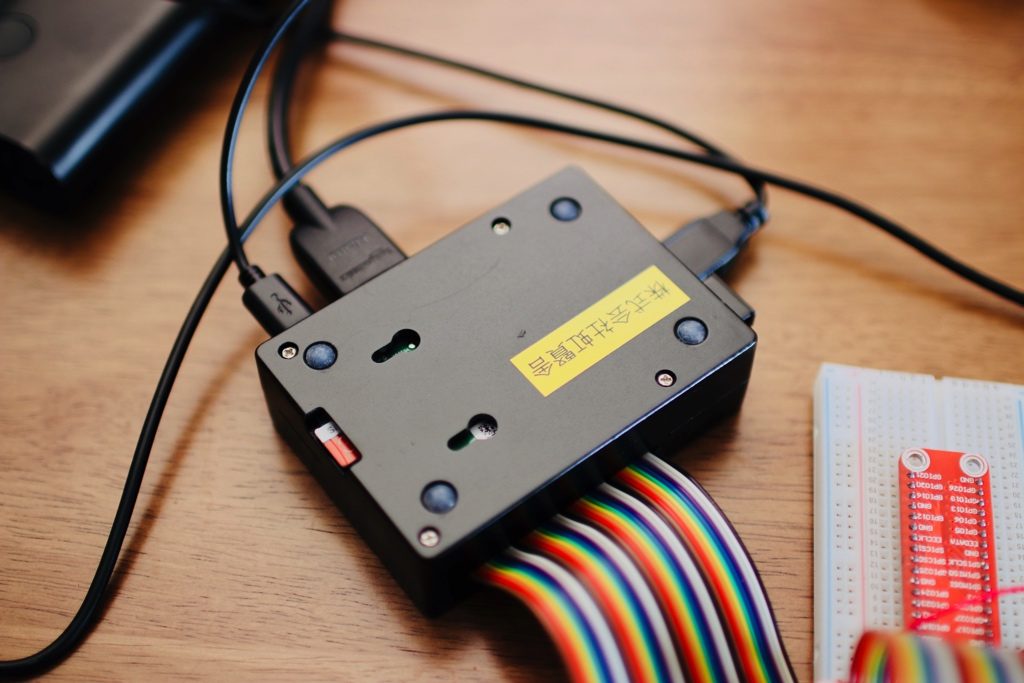
④ブレッドボード二枚
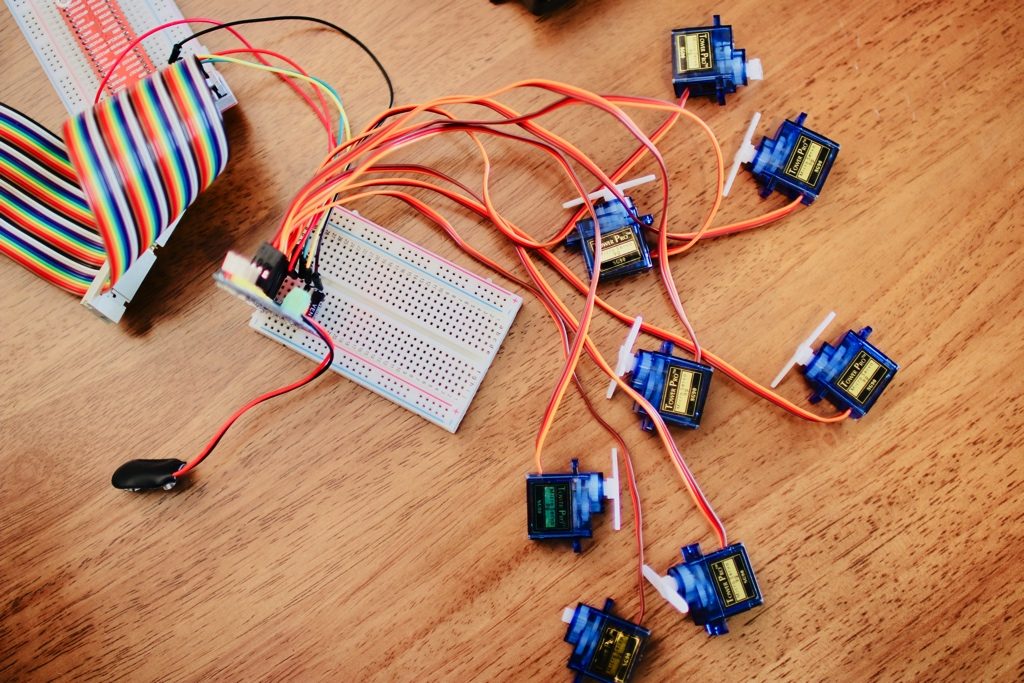
全体の構成はこんな感じです。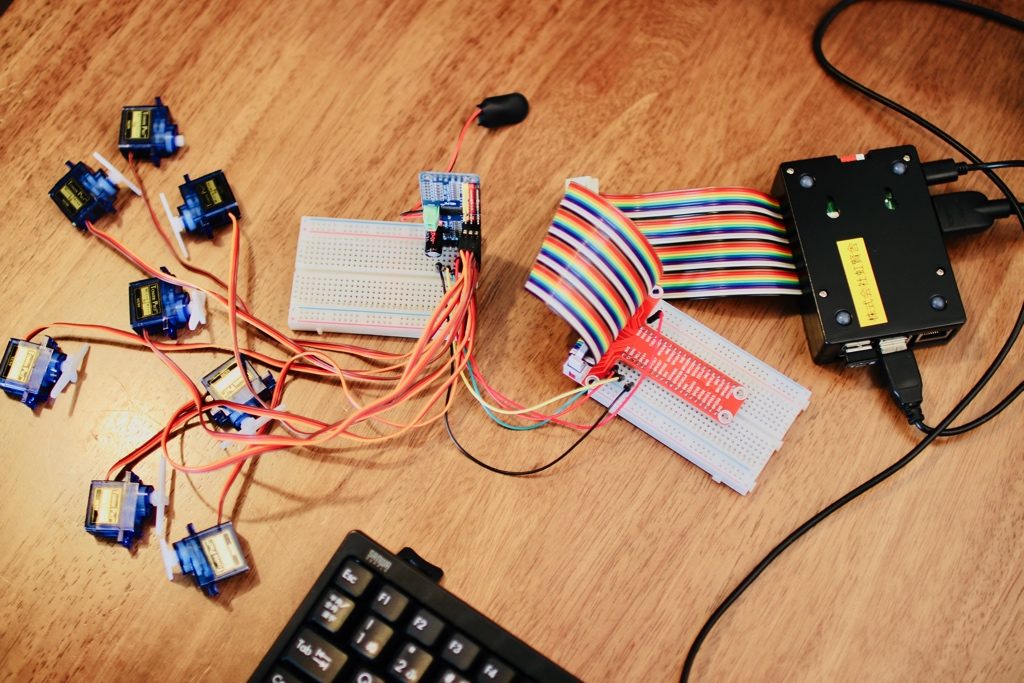
プログラム
まず、RaspberryPiにデフォルトでPython2.7が入っていると思います。それをそのまま使います。
次は、PCA9685を「動かす」プログラムですが
Adafruitsのサンプルプログラムを今回試してみたいと思います。
ソースコードはこちらです。
https://github.com/adafruit/Adafruit_Python_PCA9685
今回は、その中にあるsimpletest.pyを動かしてみます。
プログラムの中身はこちらです。
# Simple demo of of the PCA9685 PWM servo/LED controller library.
# This will move channel 0 from min to max position repeatedly.
# Author: Tony DiCola
# License: Public Domain
from __future__ import division
import time

# Import the PCA9685 module.
import Adafruit_PCA9685


# Uncomment to enable debug output.
#import logging
#logging.basicConfig(level=logging.DEBUG)

# Initialise the PCA9685 using the default address (0x40).
pwm = Adafruit_PCA9685.PCA9685()

# Alternatively specify a different address and/or bus:
#pwm = Adafruit_PCA9685.PCA9685(address=0x41, busnum=2)

# Configure min and max servo pulse lengths
servo_min = 150  # Min pulse length out of 4096
servo_max = 600  # Max pulse length out of 4096

# Helper function to make setting a servo pulse width simpler.
def set_servo_pulse(channel, pulse):
    pulse_length = 1000000    # 1,000,000 us per second
    pulse_length //= 60       # 60 Hz
    print('{0}us per period'.format(pulse_length))
    pulse_length //= 4096     # 12 bits of resolution
    print('{0}us per bit'.format(pulse_length))
    pulse *= 1000
    pulse //= pulse_length
    pwm.set_pwm(channel, 0, pulse)

# Set frequency to 60hz, good for servos.
pwm.set_pwm_freq(60)

print('Moving servo on channel 0, press Ctrl-C to quit...')
while True:
    # Move servo on channel O between extremes.
    # ここ少し改造しました。今回はサーボ8個を動かしてみます。
    for i in range(8):
        pwm.set_pwm(i, 0, servo_min)
        time.sleep(1)
        pwm.set_pwm(i, 0, servo_max)
        time.sleep(1)
必ず、こちらの手順を済ましてからsimple.pyを実行してください。
sudo apt-get install git build-essential python-dev
cd ~
git clone https://github.com/adafruit/Adafruit_Python_PCA9685.git
cd Adafruit_Python_PCA9685
sudo python setup.py install
上のプログラムにも書いてありますが、少し改造したところがあります。
simpletest.pyそのままですと、サーボを一台しか動かすことしかしないです。
今回、8個サーボを接続しましたので、全部動かしてみたいですから
この部分を、こういうふうに書き直しました。
while True:
    # Move servo on channel O between extremes.
    # ここ少し改造しました。今回はサーボ8個を動かしてみます。
    for i in range(8):
        pwm.set_pwm(i, 0, servo_min)
        time.sleep(1)
        pwm.set_pwm(i, 0, servo_max)
        time.sleep(1)
接続
配線は下記の感じです!
今回は、同時に、3.3Vと5V 両方を使います。
3.3VはPCA9683の電源供給です。
5Vはサーボの駆動電源となります。絶対間違い内容に接続してください!
5VをPCA9685に接続すると、PCA9685ボードが壊れる恐れがあります!!
PCA9685 GND -> Raspberry Pi GND
PCA9685 VCC-> Raspberry Pi 3V3 (大事!)
PCA9685 V+ -> Raspberry Pi 5V サーボ駆動電源
PCA9685 SDA -> Raspberry Pi SDA
PCA9685 SCL -> Raspberry Pi SCL
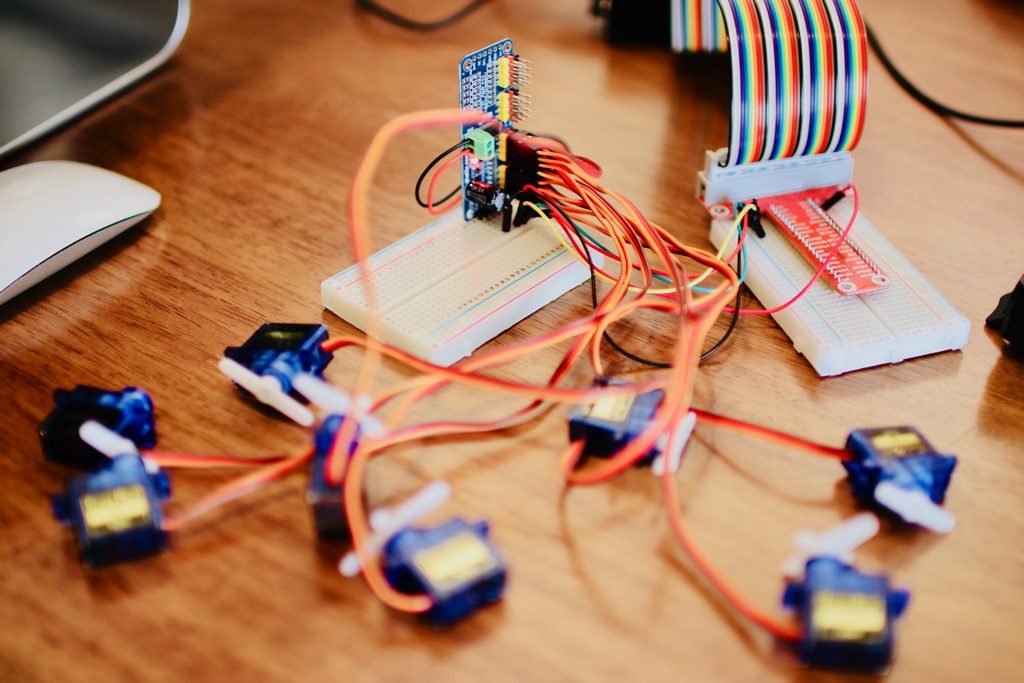
今回は、サーボを8個を繋げてみました。
PCA9685は最大で16個サーボを繋げることができます。
さらに、PCA9685を芋づる式で繋げていけば、A0~A5のアドレスを設定することにより最大62ユニット(992チャンネル)を連結することが可能です。
見事に、動きました!
#電子工作 日和なので#PCA9685 でサーボをいっぱい動かしました!笑 pic.twitter.com/TbE4Q2Wod2
— 川島@ソフトウェア、Web、アプリ、IoT作るのが大好き (@kokensha_tech) 2018年8月8日
まとめ
いかがですか?
今回はRaspberryPiとPythonとPCA9685で複数のサーボを動かす方法をご紹介しましたが
もちろん、これで終わりではありません。
これから、機構を作ったり、サーボの協調練どうすれば、もっと「意味のある」動作が設計できますね。
ロボットにするのも良いですし、扉を開閉させるのもいいですし、何か遠隔操作もできますね。
Pythonのウェブアプリケーションフレームワークと組めば、ウェブ上で複数サーボを操作するものももちろん、作れます。
さらに、色々実験してみたくなりますよね!笑。
では、またそのうち!
[amazonjs asin=”B01D1D0CX2″ locale=”JP” title=”HiLetgo PCA9685 16チャンネル 12-ビット PWM Servo モーター ドライバー IIC モジュール Arduinoに対応 ロボット”][amazonjs asin=”B010DNO4X2″ locale=”JP” title=”PCA9685搭載16チャネル PWM/サーボ ドライバー (I2C接続)”]
[amazonjs asin=”B01NAHBSUD” locale=”JP” title=”Raspberry Pi 3 Model B V1.2 (日本製) 国内正規代理店品”]
[amazonjs asin=”B00VUJYNWG” locale=”JP” title=”デジタル・マイクロサーボ SG90 (5個)”]

恐れ入ります、PCA9685の情報を検索して、当サイトを拝見しました。
>留意点として、ACモーターと100% デジタルサーボは動作しないことです、気をつけてください。
デジタルサーボは動作しない、とありますがどういう意味ですか?
100%デジタルサーボはPWMではないのでしょうか?