Arduino+Adafruit Motor Shield V2+ステッピングモーター17HS4401でサンプルコードを実行する
Arduino+Adafruit Motor Shield V2+ステッピングモーター17HS4401でサンプルコードを実行するという内容ですが
わざわざ記事にする必要があるかと思う人がいるかもしれませんが
実際になかなか動かすことができず、困っている人もいました。(私に聞いた方がいました。)
実際、私も1回目ですんなり動かすことができず、躊躇しました。
なので、簡単ではありますが、少しまとめてみようと思います。
目次
Adafruit Motor Shield V2
Adafruitから出ているMotor Shield は現在二種類があります。
Adafruit Motor Shieldは、Arduinoの拡張ボードとして、Arduinoの上に載せます。
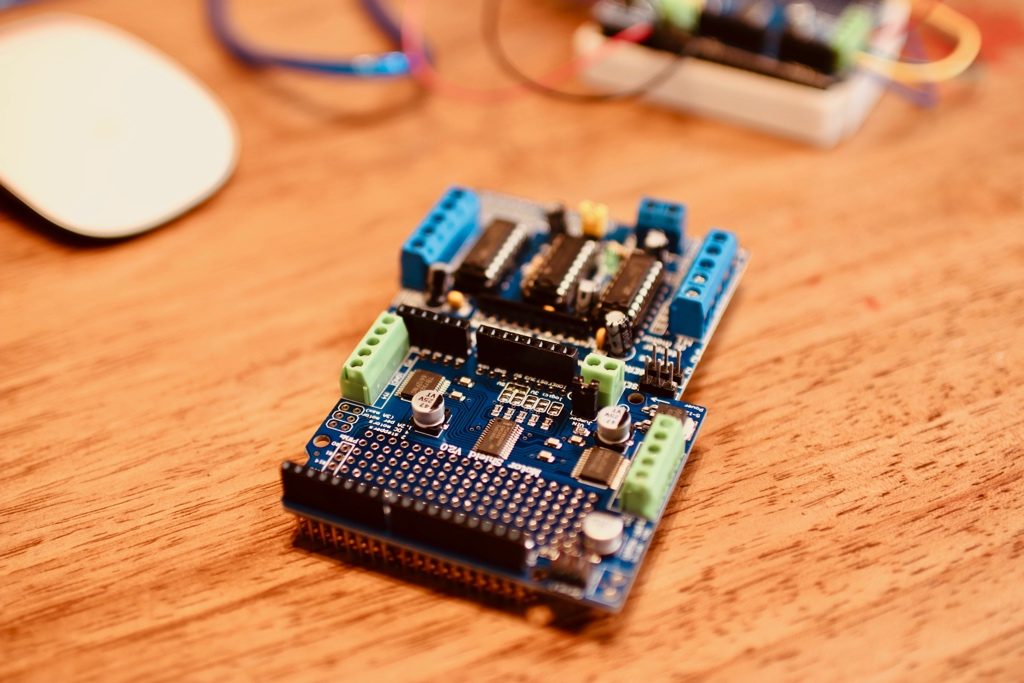
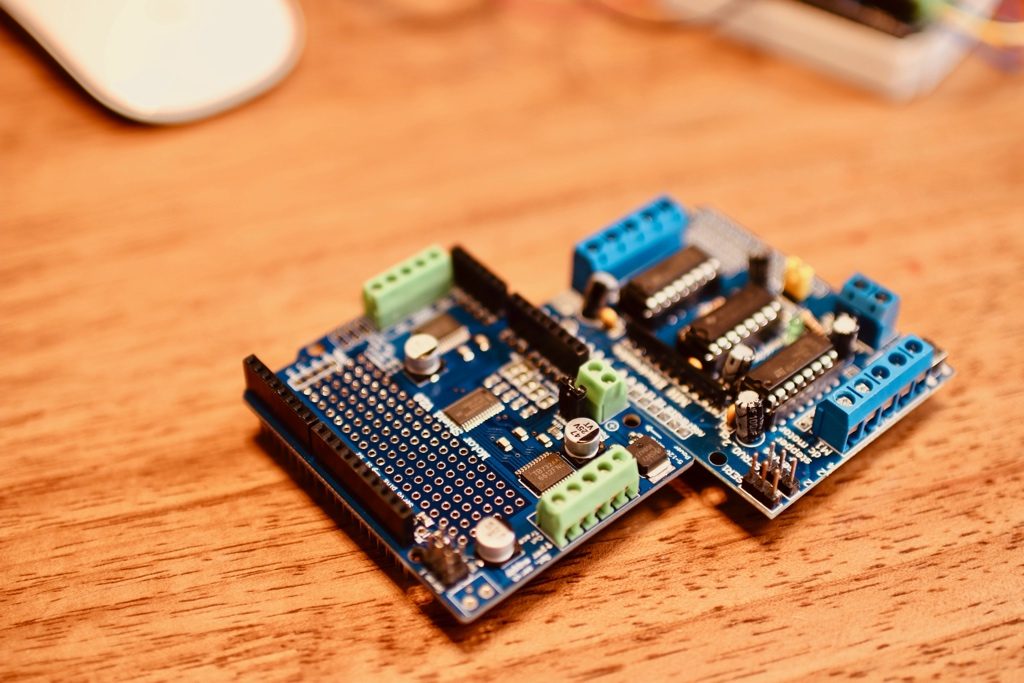
今回使っているのは、下の写真の手前の方にあるV2の方です。奥の方はV1の方です。V1は古い、V2が新しいということになります。
私が最初に知らなくて、V1を購入して、その後V2を購入しました。V1もV2も大量に持っています。笑。
どっちもライブラリが用意されていますので、どっちもモーターやサーボを動かしてみましたが、現在はまだどっちが良いと言える経験がありません。V2が新しい方なので、おそらく改良等施されたと考え、V2の方を購入して良いかと思います。
[amazonjs asin=”B074Z4X3MH” locale=”JP” title=”Adafruit Motor/Stepper/Servo Shield for Arduino v2 Kit”]
下の写真の左側がV2です。右側がV1です。
Adafruitの紹介ページはこちらです。
https://learn.adafruit.com/adafruit-motor-shield-v2-for-arduino/overview
この後、動かすサンプルコードもそちらに紹介されています。
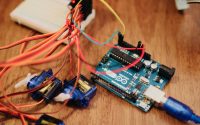
配線
配線がとても大事です。
今回使うステッピングモーターは格安の「17HS4401」なので、ワイヤーが4本です。色が公式サンプルの色がちょっと違って、戸惑う習慣がありましたが、基本は「順次」つなげていくだけです。具体的には下記の写真を参照してください。
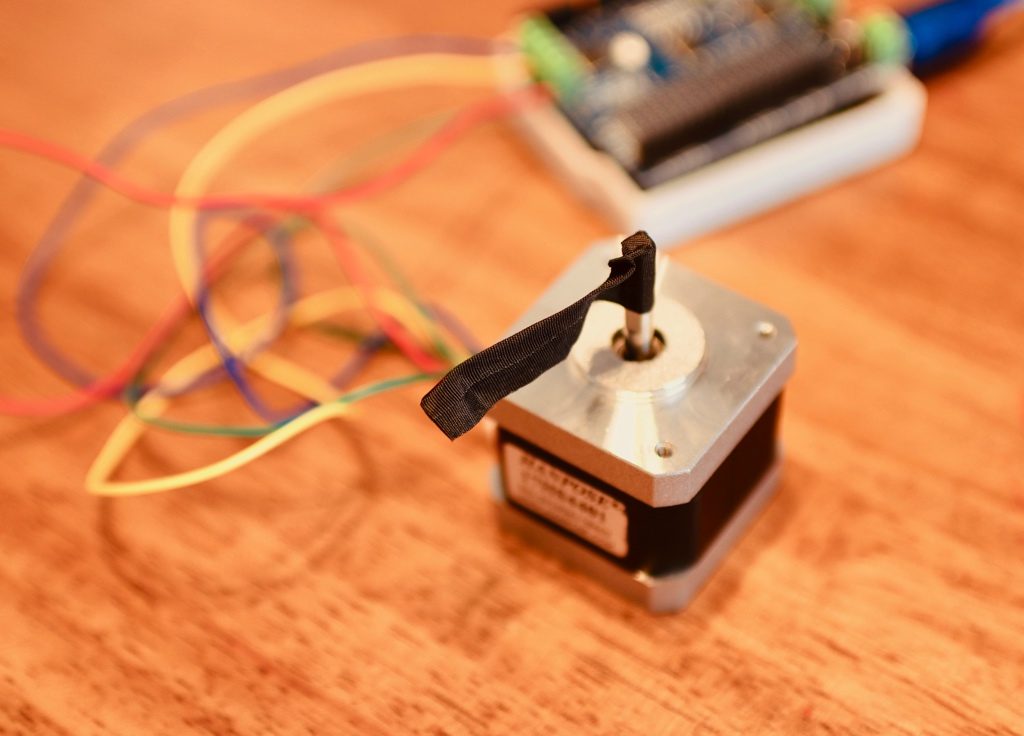
ステッピングモーター側、こちらはコネクタになっていますので、特にやることがないです。
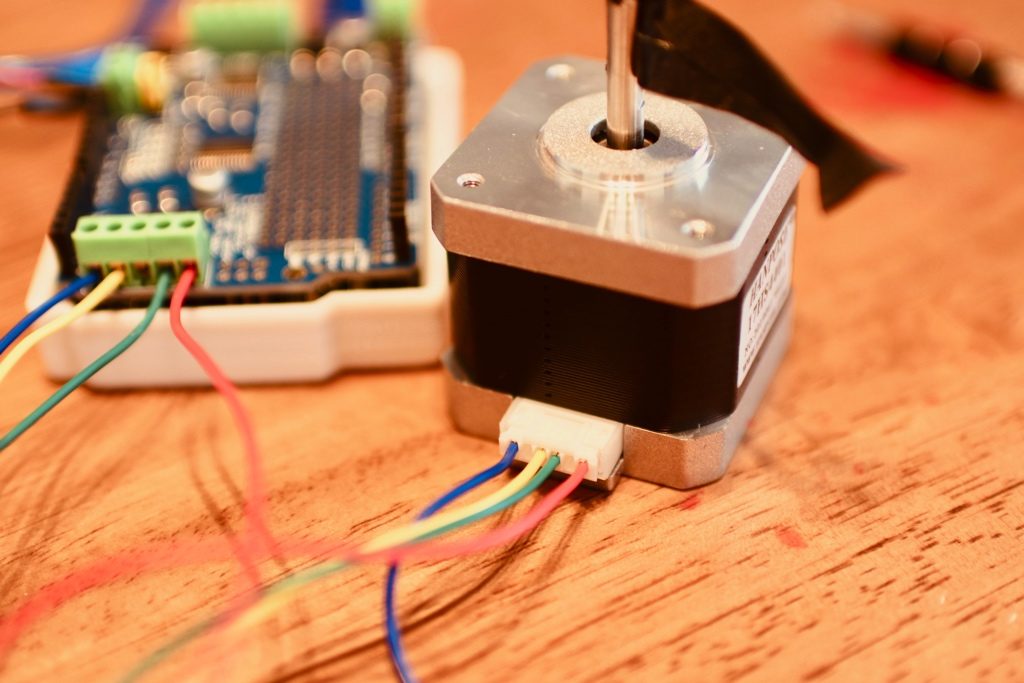
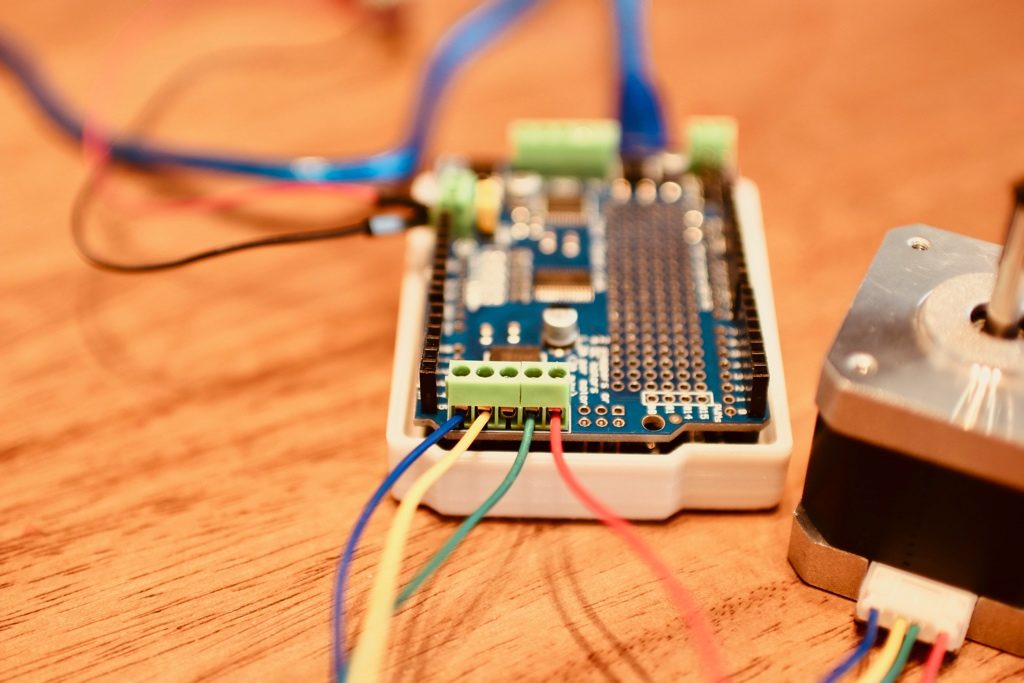
Adafruit Motor Shield V2側は写真の通り接続してください。
Adafruit Motor Shieldボードには、M3,M4の書いたところに接続してください。これはサンプルプログラムの中にこちらを使っているからです。
赤緑、黄青がペアになっています。
今回ステッピングモーターのための外部電源も必要です。
外部電源は6Vを使っています。
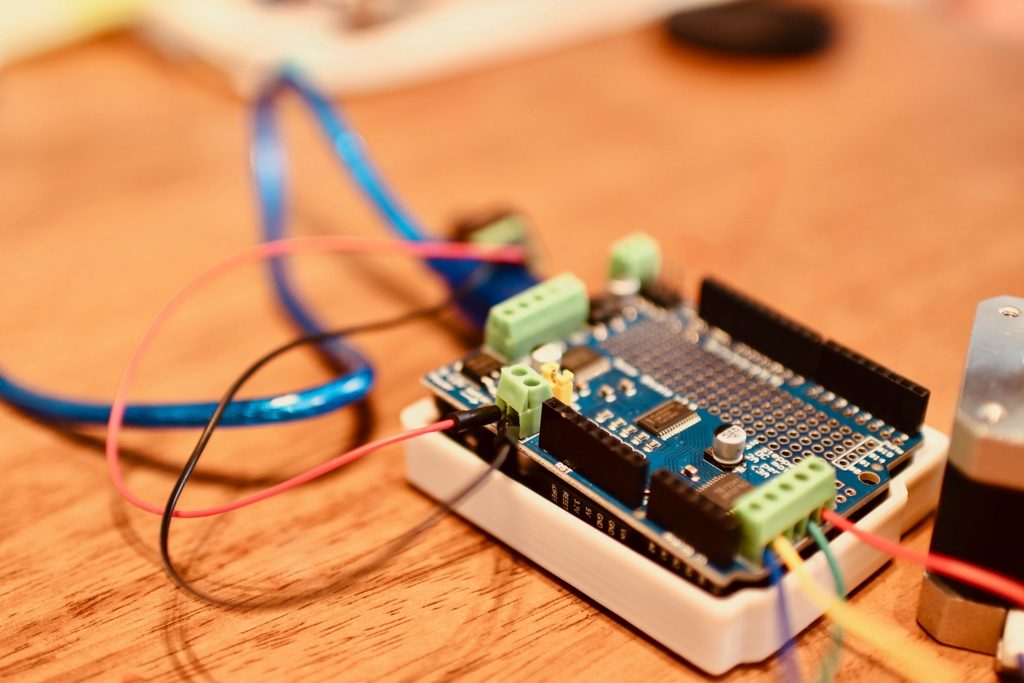
外付けの電圧は、MAXで12Vなので、気をつけてください。

ライブラリのインストール
Arduinoの拡張ボードほとんどそうですが、
Arduino Motor Shield V2を使うには、Arduino Motor Shield V1のライブラリをインストールする必要があります。
Arduino IDEの場合は下記のようにインストールしてください。
IDEのメニュー > スケッチ > ライブラリをインクルード > ライブラリを管理
そして、ライブラリマネージャーが出てきます。
検索欄に、「Adafruit motor」を入力すると、候補が出ます。

その中から、Adafruit Motor Shield V2 Libraryを選んで、最新版を選んだ上で、インストールしてください。

プログラム
プログラムはAdafruitが提供しているテスト用のサンプルコードほぼそのままですが、念の為、下記に置いておきます。
一部ちょっと改造したところがあります。
プログラムにもあったように、このコードはArduino Motor Shield V1系は動かないので、注意してください。
/*
This is a test sketch for the Adafruit assembled Motor Shield for Arduino v2
It won't work with v1.x motor shields! Only for the v2's with built in PWM
control

For use with the Adafruit Motor Shield v2
---->  http://www.adafruit.com/products/1438
*/


#include <Wire.h>
#include <Adafruit_MotorShield.h>

// Create the motor shield object with the default I2C address
Adafruit_MotorShield AFMS = Adafruit_MotorShield();
// Or, create it with a different I2C address (say for stacking)
// Adafruit_MotorShield AFMS = Adafruit_MotorShield(0x61);

// Connect a stepper motor with 200 steps per revolution (1.8 degree)
// to motor port #2 (M3 and M4)
Adafruit_StepperMotor *myMotor = AFMS.getStepper(200, 2);

void setup() {
  Serial.begin(9600);           // set up Serial library at 9600 bps
  Serial.println("Stepper test!");

  AFMS.begin();  // create with the default frequency 1.6KHz
  //AFMS.begin(3200);  // OR with a different frequency, say 1KHz

  myMotor->setSpeed(10);  // 10 rpm
}

void loop() {
  Serial.println("Microstep steps");
  myMotor->step(200, FORWARD, SINGLE);
  myMotor->step(200, BACKWARD, SINGLE);
}
まとめ
今回はArduino+Adafruit Motor Shield V2+ステッピングモーター17HS4401でサンプルコードを実行するという内容でしたが、今度は、Adafruit Motor Shield V1の使い方も簡単に紹介したいと思います。
では、次の記事まで!Happy Coding!
[amazonjs asin=”B078JK9KLB” locale=”JP” title=”ステッピングモーター 3Dプリンター用 Nema17 1.8度 1.7A 45Ncm(78oz.in) 4リードケーブル 5個セット”]
[amazonjs asin=”B01M27EUJP” locale=”JP” title=”DC-HOUSE ステッピングモーター12V 36.8oz NEMA17 CNC 3Dプリンター用 4線 5個セット”]
[amazonjs asin=”B0044X2E5S” locale=”JP” title=”【永久保証付き】Arduino Uno”]

Jetson nanoとPCA9685でサーボを動かそうとするときのI2Cエラー対処法!

macOS Mojave VirtualBox Ubuntu 16.04 で Intel Movidiusを動かす方法!