VirtualBox Vagrant CentOS7 PHP mySQL5.6 CakePHPのセットアップ方法
私は普段、Dockerを使っている場合が多いですが、最近「VirtualBox+Vagrant+CentOS7+CakePHPのセットアップ方法」のレッスンもあったので
せっかくなので、記事にまとめました。
なんでCakePHPかと言うと、日本国内では、結構使われているようですね。本当はLaravelをオススメしたいですけどね。笑
LaravelでPHPを勉強した人は下記の記事を参照してください。
生のPHPで基本を勉強した人はこちらの記事を参照してください。
目次
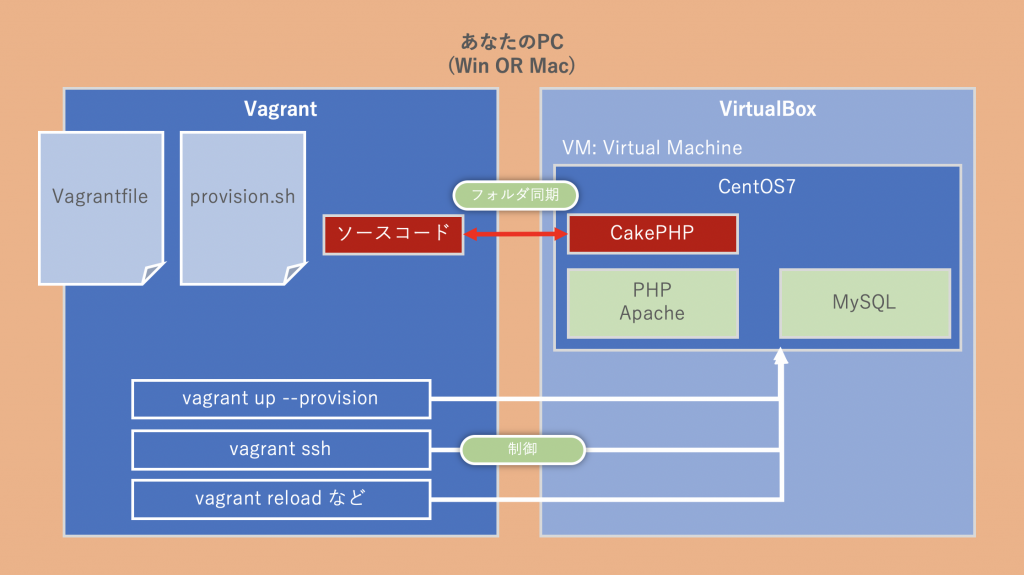
全体構成の概念図
これから、様々なロールが登場しますが、それの相互関係をここで簡単に図解しておきます。この図をイメージしながら、下記の手順を行ってください。
VirtualBoxのインストール
こちらの記事を参考してください。
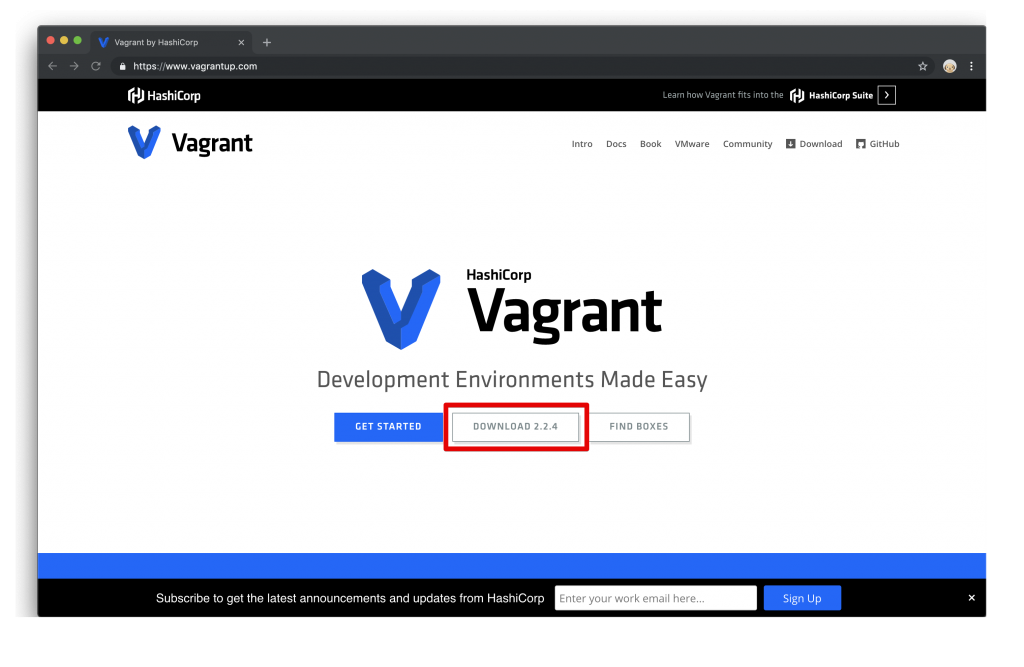
Vagrantのインストール
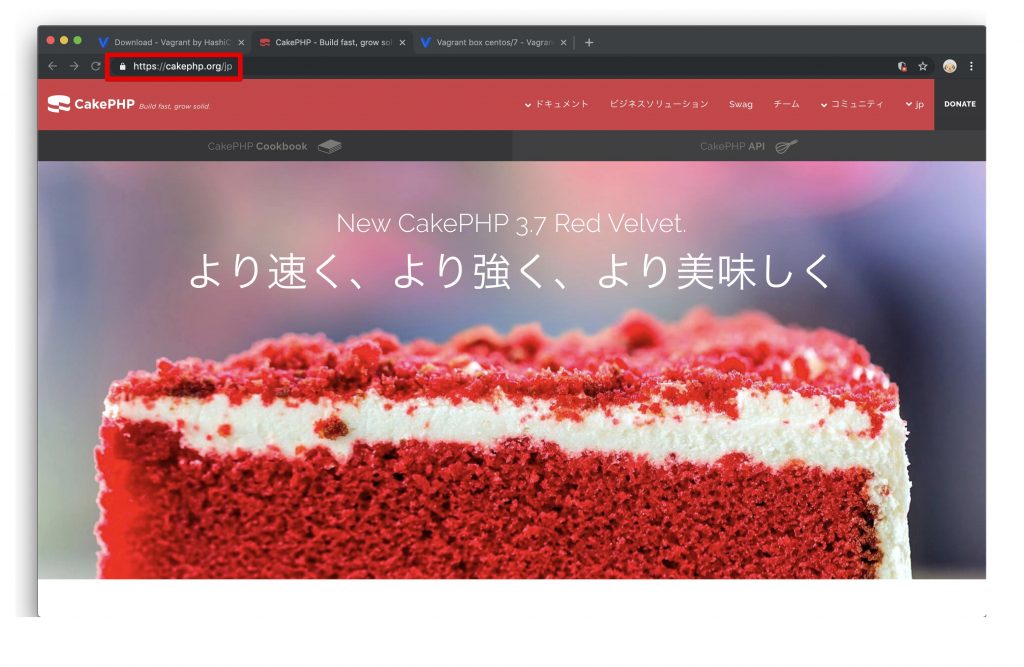
本家いのサイトに行って、Vagrantをダウンロードして、インストールしてください。
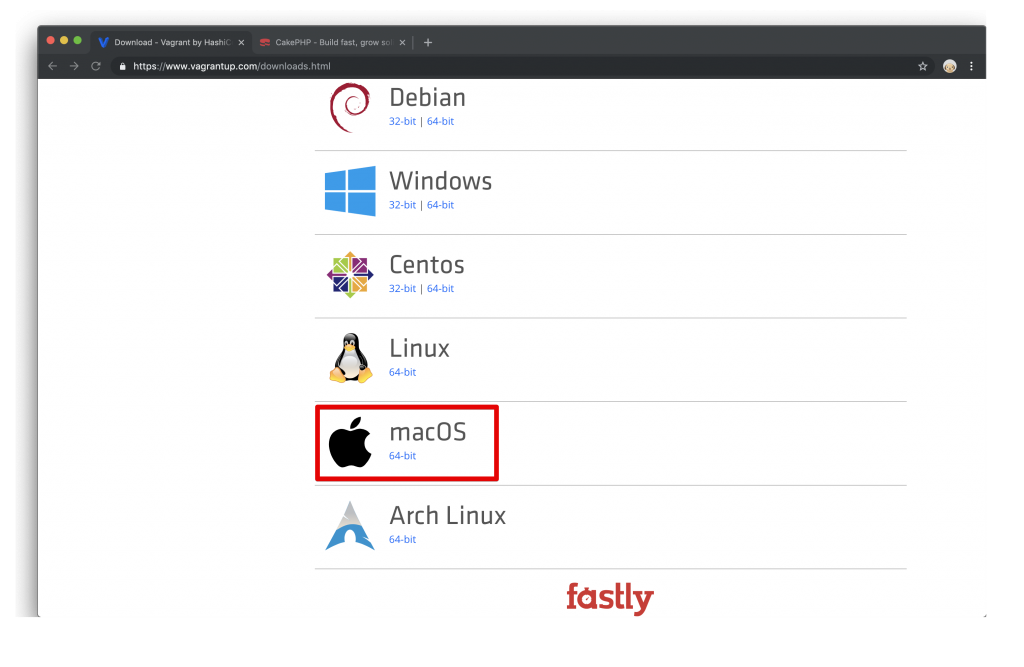
ダウンロードをクリックしたら、次の画面に遷移します。
私がMacOSなので、MacOS用のパッケージをダウンロードします。皆さんは適宜自分のPCの環境に合わせて、ダウンロードしてください。
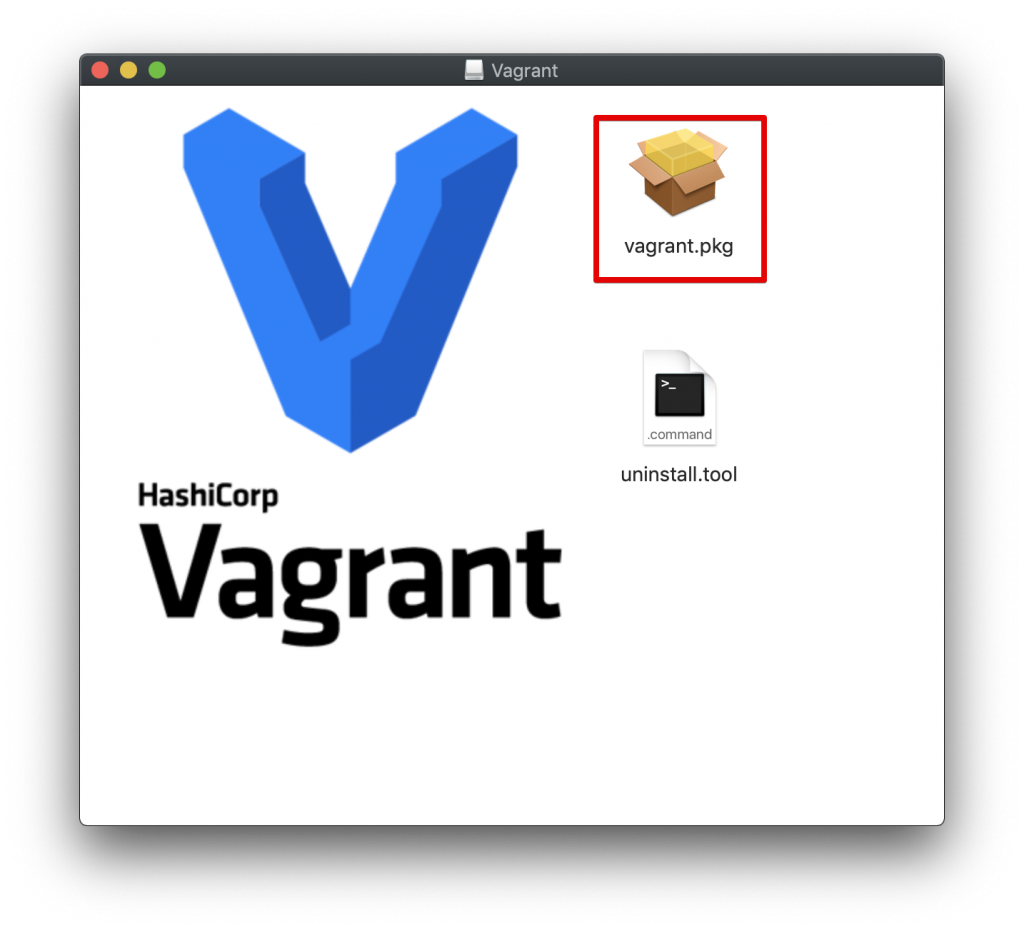
ダウンロードしてパッケージを開いて、vagrant.pkgをダブルクリックします。
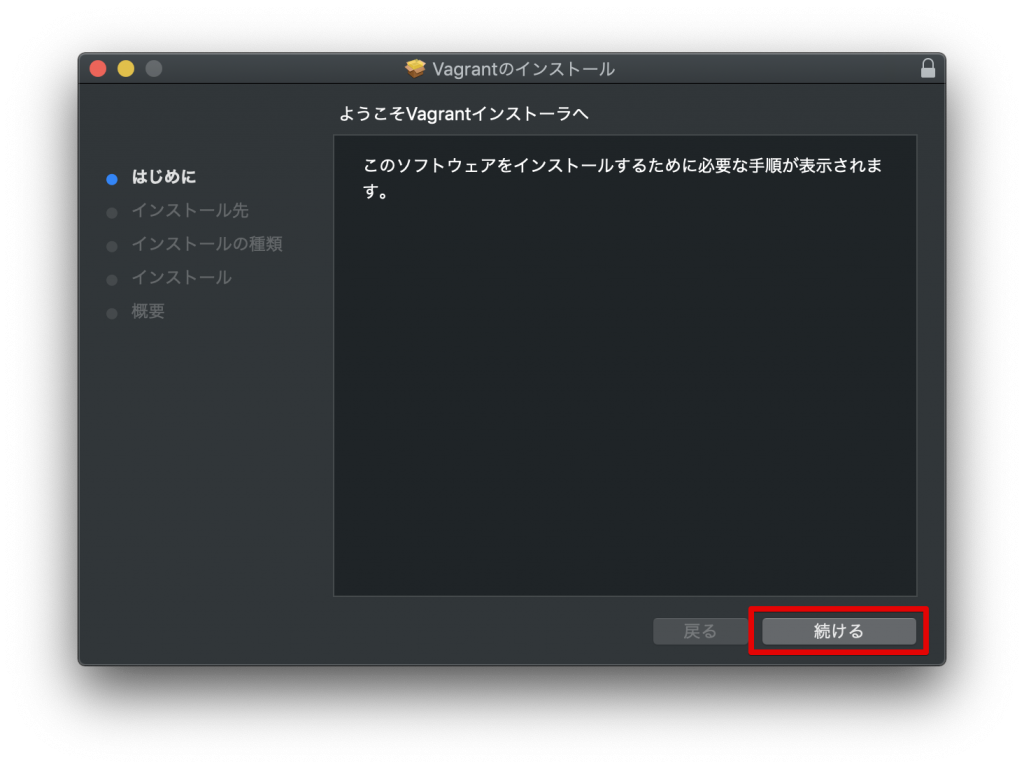
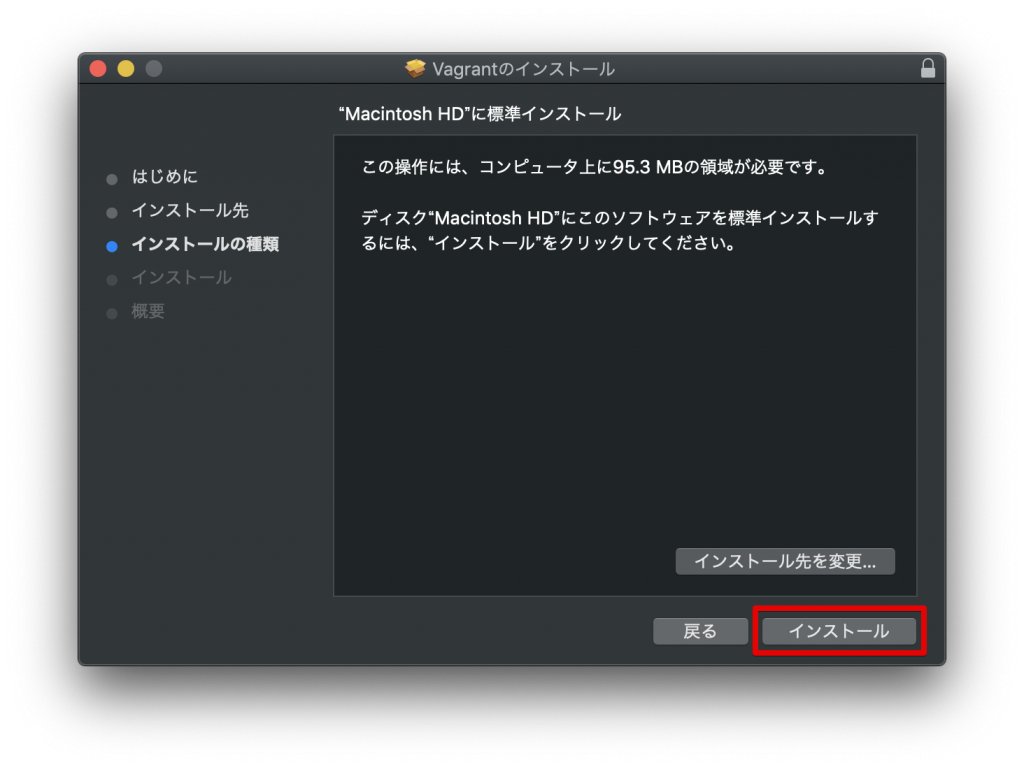
あとは、案内通りに、インストールを完了させます。
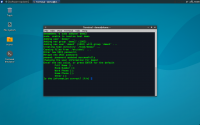
インストール完了したら、MacのTerminalで[vagran]と言うコマンドが使えるようになります!
自分好きなEditorを開いて、/ホームディレクトリ/workspaceと言うフォルダに下記の二つのファイルを作ってください。
Vagranfileの用意
これはVagrantが起動するときに見るファイルです。
Vagrantの詳しい説明は本系のドキュメントに譲ります。
気をつけるところは、
下記の三行です。
- config.vm.box = “bento/centos-7.3″ 他のVagrant Boxを使うと、違う挙動になるかもしれない
- config.vm.provision :shell, :path => “provision.sh” 外部のprovision.shファイルを指定する、重要
- config.vm.synced_folder “./”, “/vagrant”, :mount_options => [“dmode=777”, “fmode=777”] こう設定しないと、CakePHPプロジェクトフォルダが表示されない可能性があるので、開発段階ではこれにする。本番環境は適切に設定してください。
- config.vm.network “private_network”, ip: “192.168.33.10” VMにアクセスするときのIPアドレス。ブラウザーで開くとき使う。
# -*- mode: ruby -*-
# vi: set ft=ruby :

# All Vagrant configuration is done below. The "2" in Vagrant.configure
# configures the configuration version (we support older styles for
# backwards compatibility). Please don't change it unless you know what
# you're doing.
Vagrant.configure("2") do |config|
  # The most common configuration options are documented and commented below.
  # For a complete reference, please see the online documentation at
  # https://docs.vagrantup.com.

  # Every Vagrant development environment requires a box. You can search for
  # boxes at https://vagrantcloud.com/search.
  # config.vm.box = "centos/7"
  config.vm.box = "bento/centos-7.3"
  config.vm.provision :shell, :path => "provision.sh"
  config.vm.synced_folder "./", "/vagrant", :mount_options => ["dmode=777", "fmode=777"]

  # Disable automatic box update checking. If you disable this, then
  # boxes will only be checked for updates when the user runs
  # `vagrant box outdated`. This is not recommended.
  # config.vm.box_check_update = false

  # Create a forwarded port mapping which allows access to a specific port
  # within the machine from a port on the host machine. In the example below,
  # accessing "localhost:8080" will access port 80 on the guest machine.
  # NOTE: This will enable public access to the opened port
  # config.vm.network "forwarded_port", guest: 80, host: 8080

  # Create a forwarded port mapping which allows access to a specific port
  # within the machine from a port on the host machine and only allow access
  # via 127.0.0.1 to disable public access
  # config.vm.network "forwarded_port", guest: 80, host: 8080, host_ip: "127.0.0.1"

  # Create a private network, which allows host-only access to the machine
  # using a specific IP.
 config.vm.network "private_network", ip: "192.168.33.10"

  # Create a public network, which generally matched to bridged network.
  # Bridged networks make the machine appear as another physical device on
  # your network.
  # config.vm.network "public_network"

  # Share an additional folder to the guest VM. The first argument is
  # the path on the host to the actual folder. The second argument is
  # the path on the guest to mount the folder. And the optional third
  # argument is a set of non-required options.
  # config.vm.synced_folder "../data", "/vagrant_data"

  # Provider-specific configuration so you can fine-tune various
  # backing providers for Vagrant. These expose provider-specific options.
  # Example for VirtualBox:
  #
  # config.vm.provider "virtualbox" do |vb|
  #   # Display the VirtualBox GUI when booting the machine
  #   vb.gui = true
  #
  #   # Customize the amount of memory on the VM:
  #   vb.memory = "1024"
  # end
  #
  # View the documentation for the provider you are using for more
  # information on available options.

  # Enable provisioning with a shell script. Additional provisioners such as
  # Puppet, Chef, Ansible, Salt, and Docker are also available. Please see the
  # documentation for more information about their specific syntax and use.
  # config.vm.provision "shell", inline: <<-SHELL
  #   apt-get update
  #   apt-get install -y apache2
  # SHELL


end
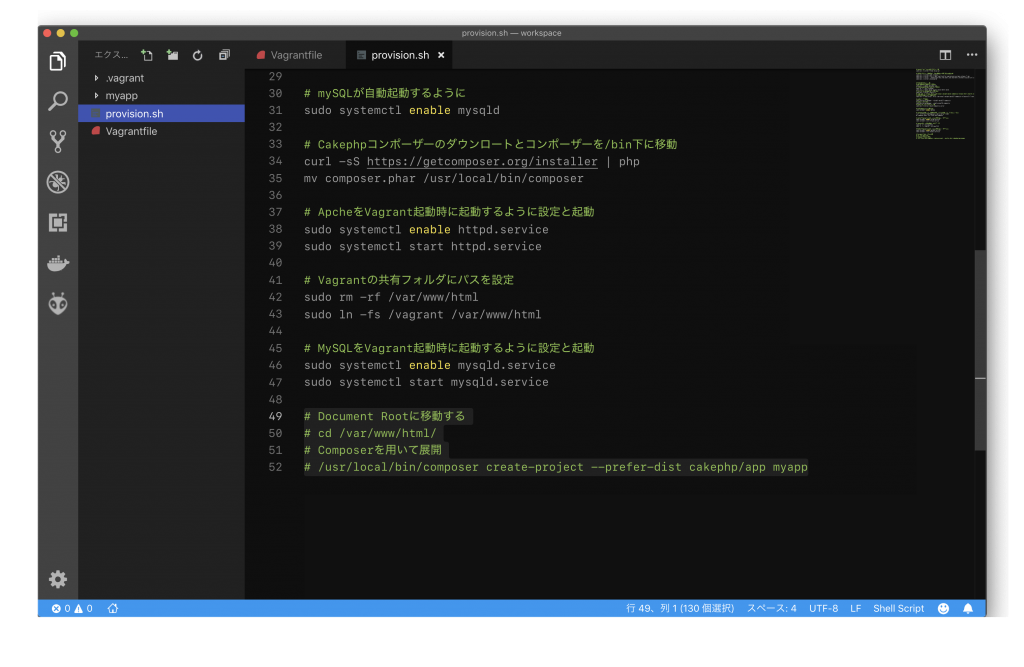
provision.shファイルの用意
上のVagramtfileの中にあるように、provisionを実行するときは、このファイルが実行されるようになります。
そうすると、CentOSのVMの中に、下記のコマンドが実行されます。
それぞれのコマンドの意味は、コメントで記述しています。
# Apache、git、unzipのインストール
sudo yum -y install httpd unzip git

# PHPのインストール。Epel, Remiリポジトリから行います。
sudo yum -y install epel-release
sudo yum -y install http://rpms.famillecollet.com/enterprise/remi-release-7.rpm
sudo yum -y install --enablerepo=remi,remi-php71 php php-devel php-mbstring php-intl php-mysql php-xml
sudo yum -y install php-mysqlnd


# MySQLのインストール
# mariadbの残党があったら削除
sudo yum -y remove mariadb-libs
# 前の古いmySQLの残党があったら削除
sudo rm -rf /var/lib/mysql/
sudo yum -y remove mysql-server mysql-devel mysql
# yum-config-managerが使えるように
sudo yum -y install yum-utils
# sudo yum -y install http://dev.mysql.com/get/mysql-community-release-el6-5.noarch.rpm
# mySQLのパッケージを取得する
sudo yum -y localinstall http://dev.mysql.com/get/mysql57-community-release-el6-7.noarch.rpm

# mySQL 5.7を無効に
sudo yum-config-manager --disable mysql57-community
# mySQL 5.6を有効に
sudo yum-config-manager --enable mysql56-community
# mySQL サーバをインストール
sudo yum -y install mysql-community-server

# mySQLが自動起動するように
sudo systemctl enable mysqld

# Cakephpコンポーザーのダウンロートとコンポーザーを/bin下に移動
curl -sS https://getcomposer.org/installer | php
mv composer.phar /usr/local/bin/composer

# ApcheをVagrant起動時に起動するように設定と起動
sudo systemctl enable httpd.service
sudo systemctl start httpd.service

# Vagrantの共有フォルダにパスを設定
sudo rm -rf /var/www/html
sudo ln -fs /vagrant /var/www/html

# MySQLをVagrant起動時に起動するように設定と起動
sudo systemctl enable mysqld.service
sudo systemctl start mysqld.service
システムの環境はほとんどこれで完了します。
あと、実際にCentOSにログインして、mySQL関連の設定だけで終わります。
二つのファイルを用意できたら
/ホームディレクトリ/workspace で下記のコマンドを実行してください。
vagrant up --provision
結構時間がかかります。あなたのPCの性能によっては、数十分かかることがあります。
CentOSでの作業
上のvagrant upが終われば、諸々必要なパッケージがインストール済みのVMが用意されて、立ち上げてある状態になっています。
続いて、VM下記のコマンドを実行して、CentOSのVMに入ります。
vagrant ssh
そうしましたら、まずCakePHPのプロジェクトを作ります。
CakePHP Projectを作成する
下記のコマンドを実行します。
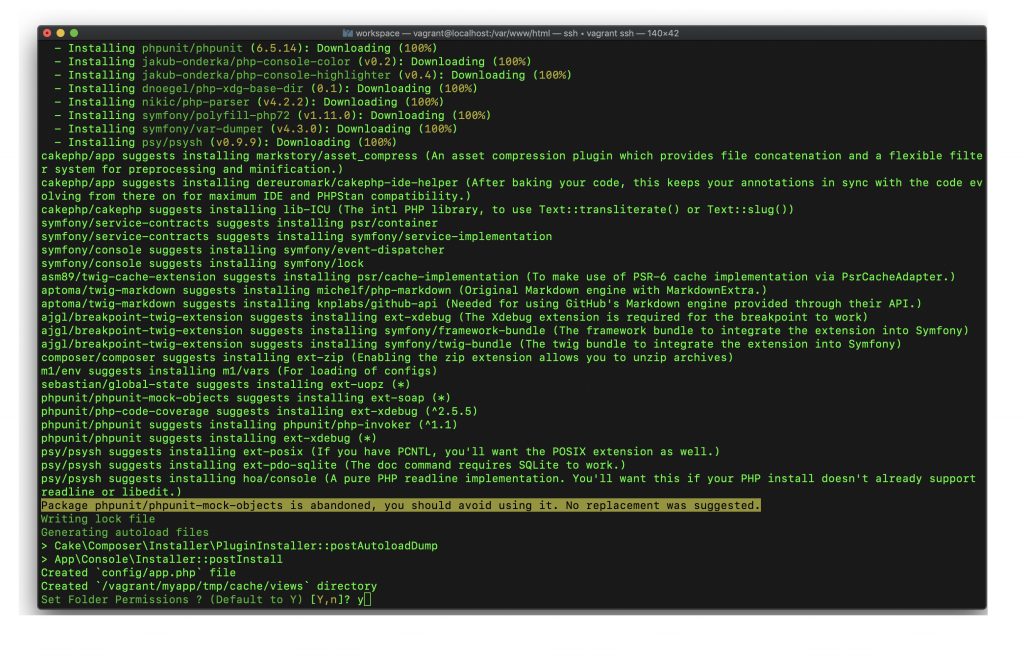
# Document Rootに移動する
cd /var/www/html/
# Composerを用いて展開
composer create-project --prefer-dist cakephp/app myapp
あなたのPCの性能によって、数分から十数分かかります。
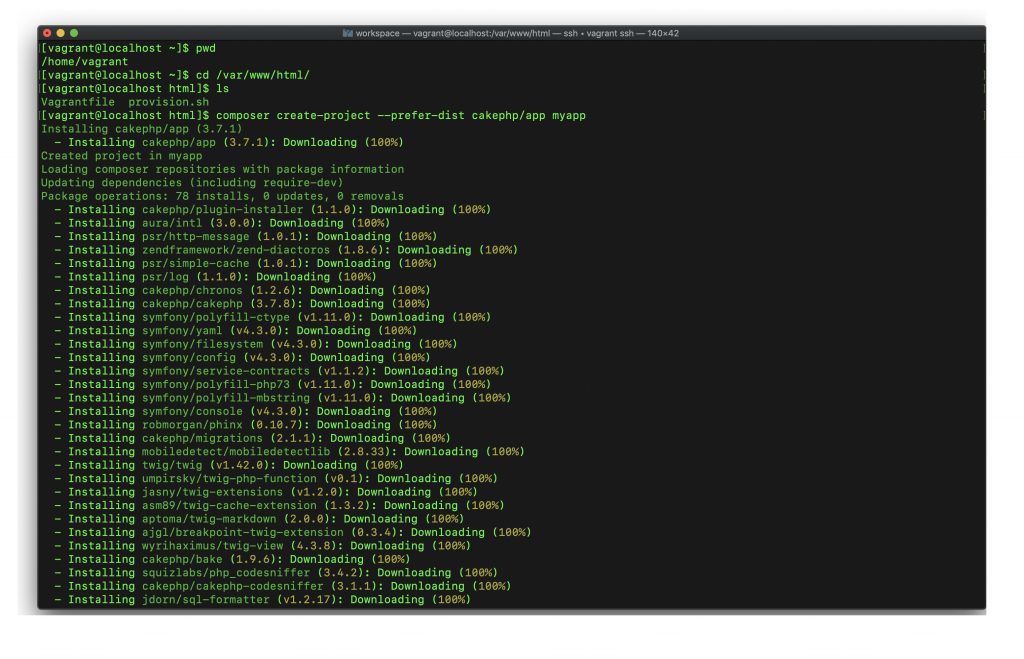
最後、フォルダの権限設定しますか?と聞かれて、Yと答えて、終わります。
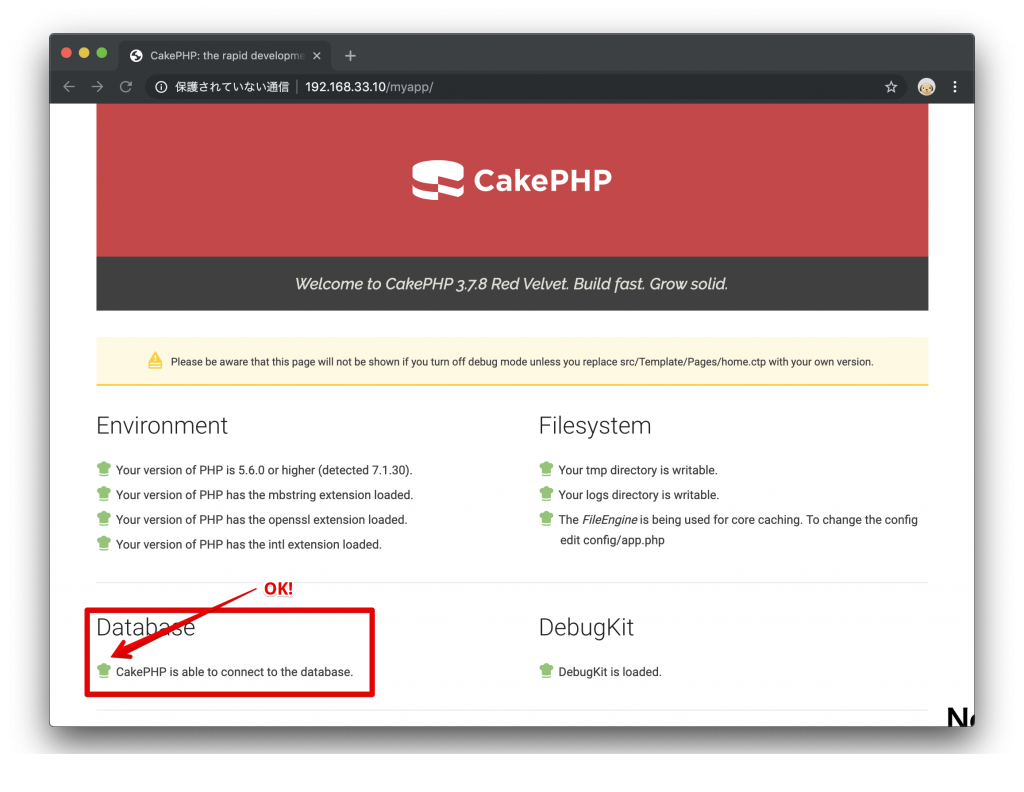
終わりましたら、一回ブラウザーを開いて、「http://192.168.33.10/myapp」にアクセスしてみてください。
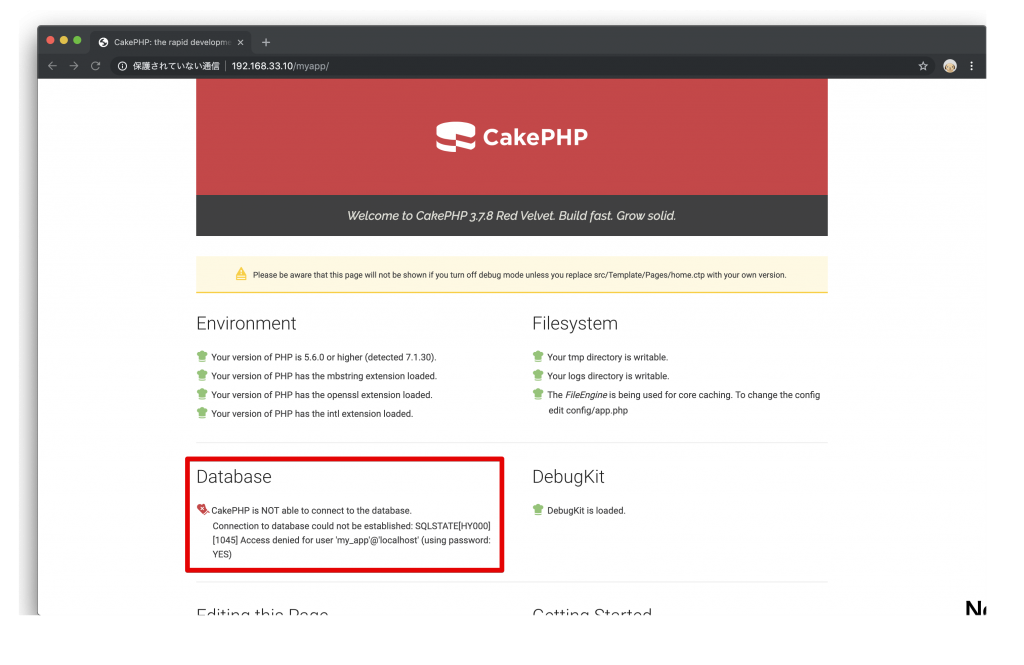
CakePHPができましたね!
でもデータベースの所に、赤いアイコンが付いています。データベースにはまだ正常にアクセスできないと言うことです。
それは当然で、まだmySQLのデータベースやユーザ全部まだ設定していないからです。
mySQLの設定
下記の手順を実行する前に一旦、VagrantのVM(CentOS)を一回再起動しましょう。
VM(CentOS)の再起動
下記のコマンドを実行してVMからログアウトします。自分のPCのTerminalに戻ります。
exit
続いて、下記のコマンドを実行して、サイドVM(CentOS)を立ち上げて、ログインします。
vagrant halt

vagrant up

vagrant ssh
mySQLを起動する
sudo systemctl start mysqld
rootのパスワードを設定する
最初は、rootのパスワードが設定されていないです。
mysql_secure_installation
上のコマンドを実行すると、対話形式になります。
パスワードがないので、最初は、Enterキーを押して進みます。
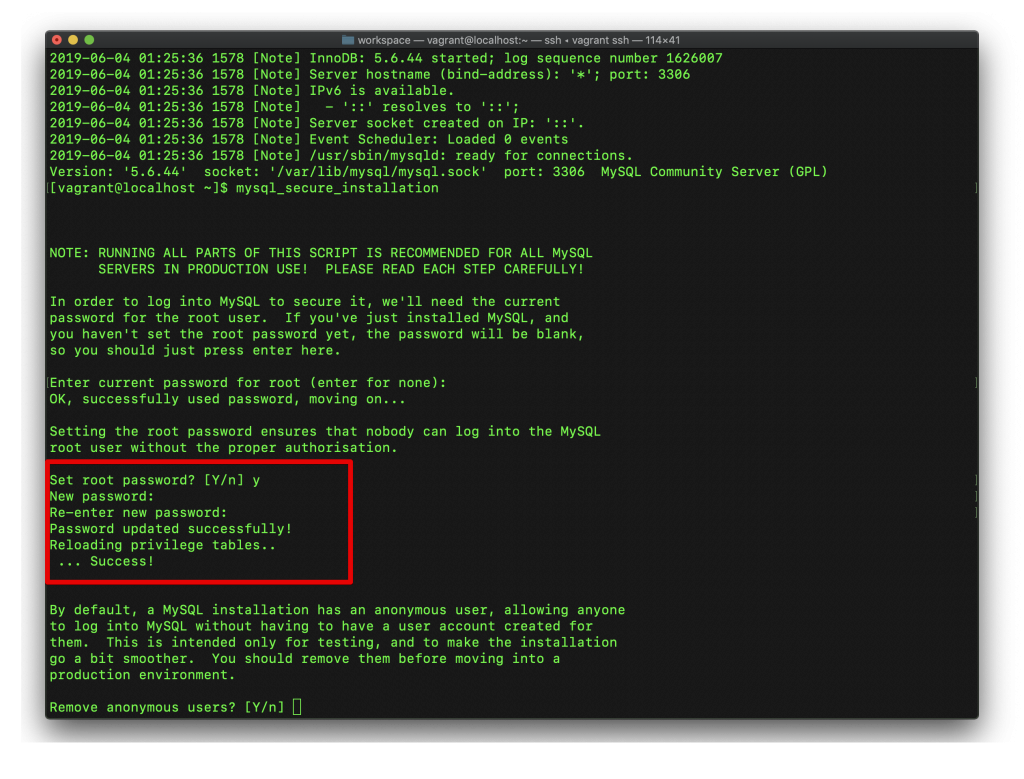
その後、新しいパスワードを二回入力します。ここでrootのパスワードは[pass]にします。覚えていてください。
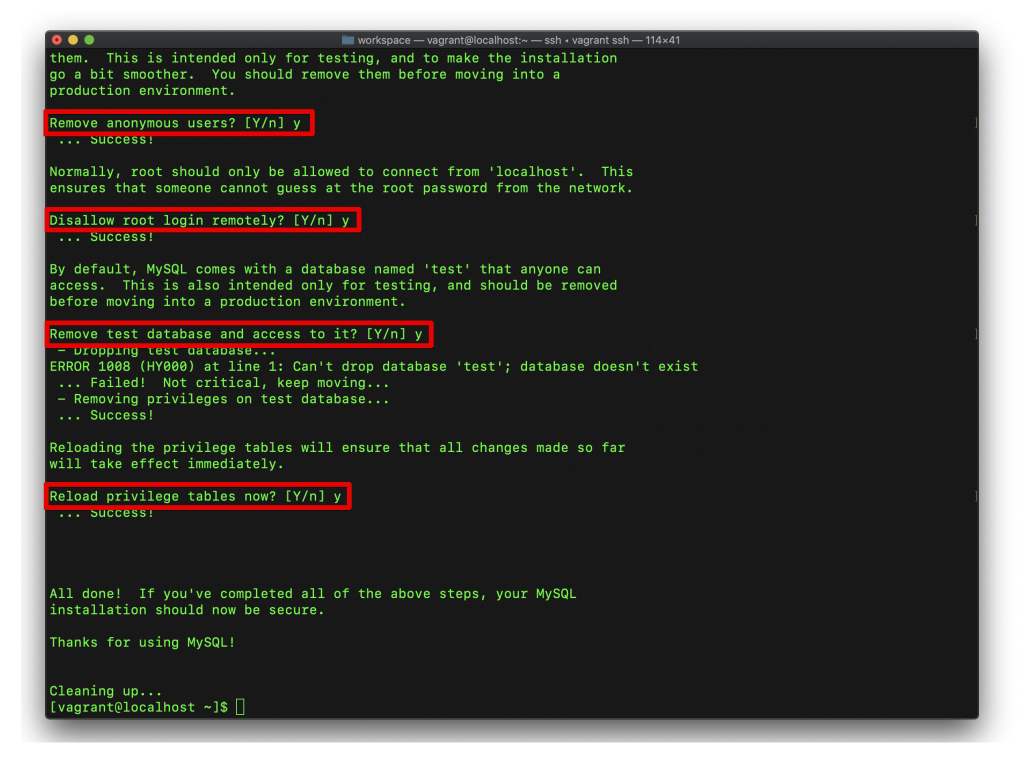
そのあとは、全部Yで答えて進んでください。
mySQLのコマンドを実行する
mysqlの対話環境に入って、データベースの作成や、ユーザ作成、権限付与をやります。
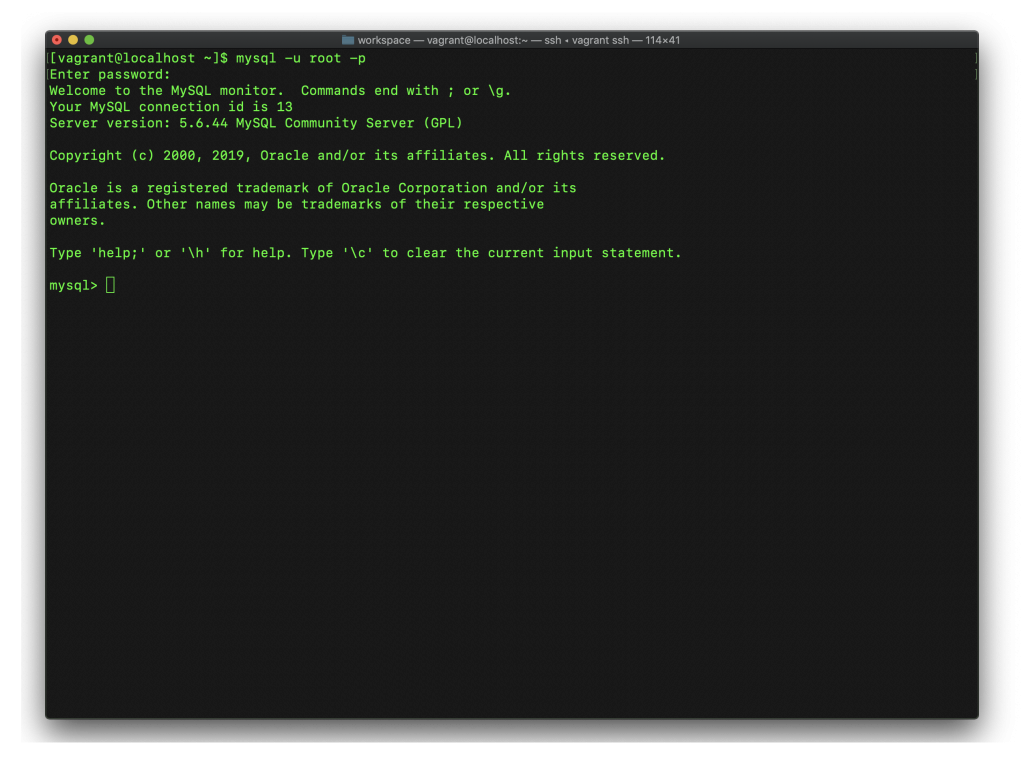
mysql -u root -p
ここで、先ほど、設定したパスワード「pass」を入力してください。
続いて、これからのコマンドを実行して、新しいデータベースを作ります。
これは、上の手順で作成下CakePHPの設定に合わせる形にします。なんでCakePHPの設定に合わせるかと言うと、そうするとCakePHP側の設定を修正なしで、データベースに接続することができるようになるからです。
これから設定コマンドに使う情報を一旦下にまとめます。
- user: my_app
- user password: secret
- database name: my_app
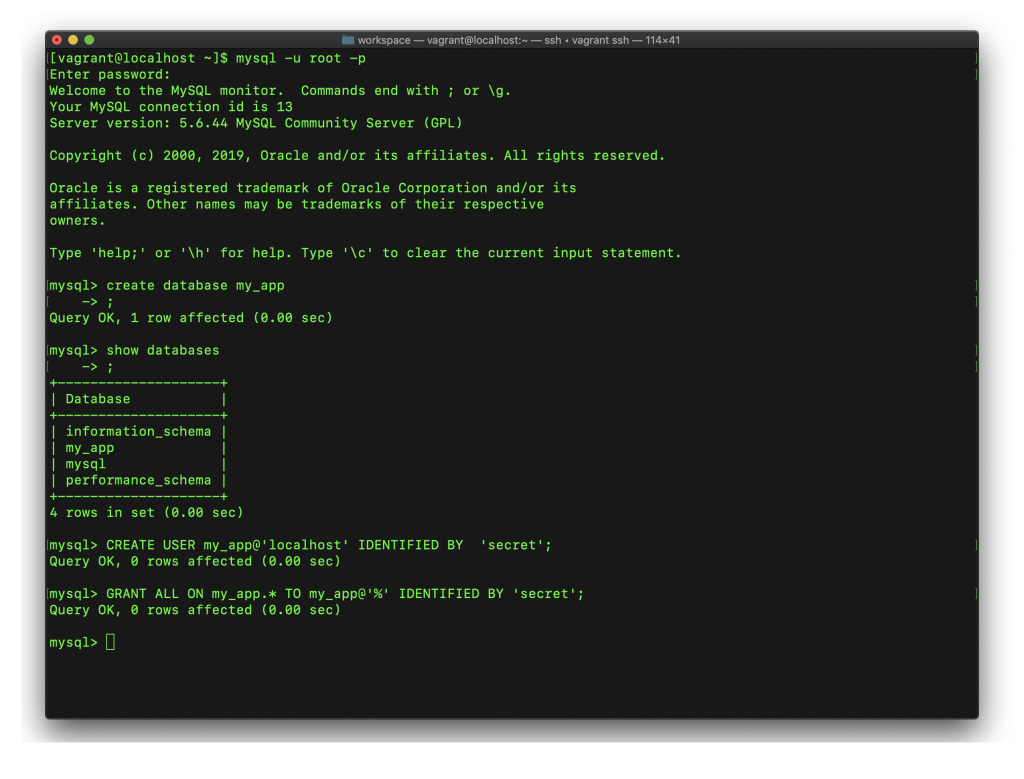
create database my_app;
show databases;
新しく作ったデータベースが一覧に入っているかどうかを確認します。

(私がcreate database my_appの後ろに「;」を忘れて、改行してから、入れても問題なく実行されますが、皆さんは忘れないでね。)
続いて、ユーザ(my_app)を作成します。
CREATE USER my_app@'localhost' IDENTIFIED BY 'secret';
続いて、上のデータベース(my_app)にユーザ(my_app)がアクセスできるように、権限を付与します。データベース名もユーザ名もmy_appですが、混乱するかもしれませんが、全然別物です。
GRANT ALL ON my_app.* TO my_app@'%' IDENTIFIED BY 'secret';
上のコマンドを実行したら、my_appと言うユーザがmy_appと言うデータベースに対して、secretと言うパスワードを使えばアクセスできると言うことになります。
この時点で、もう一回、ブラウザーをリロードすれば、データベースの所のアイコンが変わるはずです。
問題なく、データベースに接続もできましたね。
ここで、一旦Terminalに戻って「exit」でmysqlの対話環境から出ましょう。
お疲れ様です。これは一通り、VirtualBox+Vagrant+CentOS7+PHP+mySQL+CakePHPのセットアップができました!
CakePHPを使ったアプリケーション開発
ちょっとだけ、PCのMacの方のソースコードを修正して、VMのCentOSの方に反映されます。
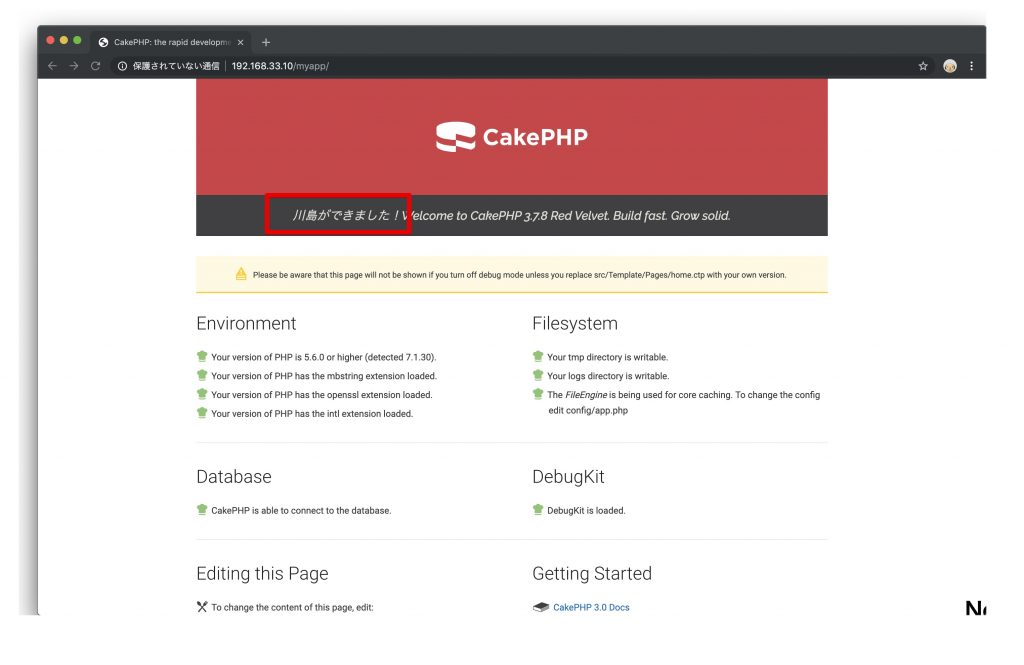
先ほどのEditor(VS Code)そのまま使います。ちょっと適当に、日本語(川島ができた!)を入れてみます。
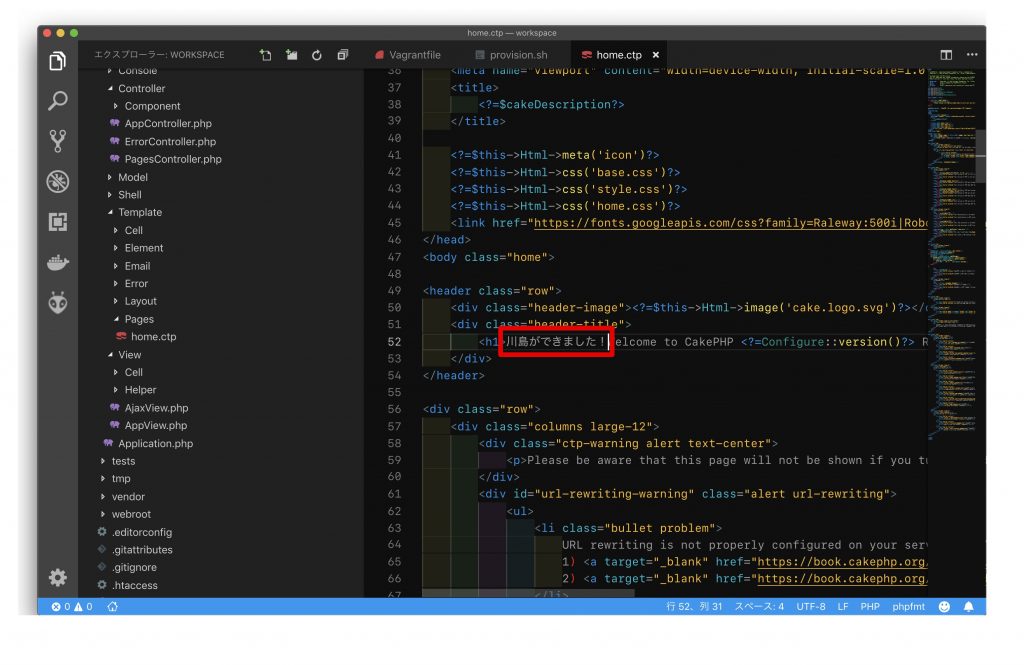
ブラウザーの方で、ページがリロードすると、変更が反映されていますね!
これで、CakePHPを楽しく開発してきましょう!笑
まとめ
いかがでしょうか?できましたでしょうか?
Dockerを使って開発環境を構築するのも良いですが、場合によってはVagrantを使うのも良いかもしれません。何れにしても、少しインフラの知識が必要ですね。
では、また次のトピックの時まで!
[amazonjs asin=”B00F418SQ8″ locale=”JP” title=”Vagrant入門ガイド”]
[amazonjs asin=”4297100339″ locale=”JP” title=”Docker/Kubernetes 実践コンテナ開発入門”]
[amazonjs asin=”4798048577″ locale=”JP” title=”PHPフレームワーク CakePHP 3入門”][amazonjs asin=”4798144452″ locale=”JP” title=”SQL 第2版 ゼロからはじめるデータベース操作 (プログラミング学習シリーズ)”]
この本、初心者にオススメです!
[amazonjs asin=”4798054097″ locale=”JP” title=”CakePHP 超入門”]