2018-09-09
Raspbian Stretch Liteにデスクトップ環境をインストール(3ステップ)
RaspberryPiを使っている時に、応用によって
デスクトップ環境の必要がなく、サーバーのような使い方をすると
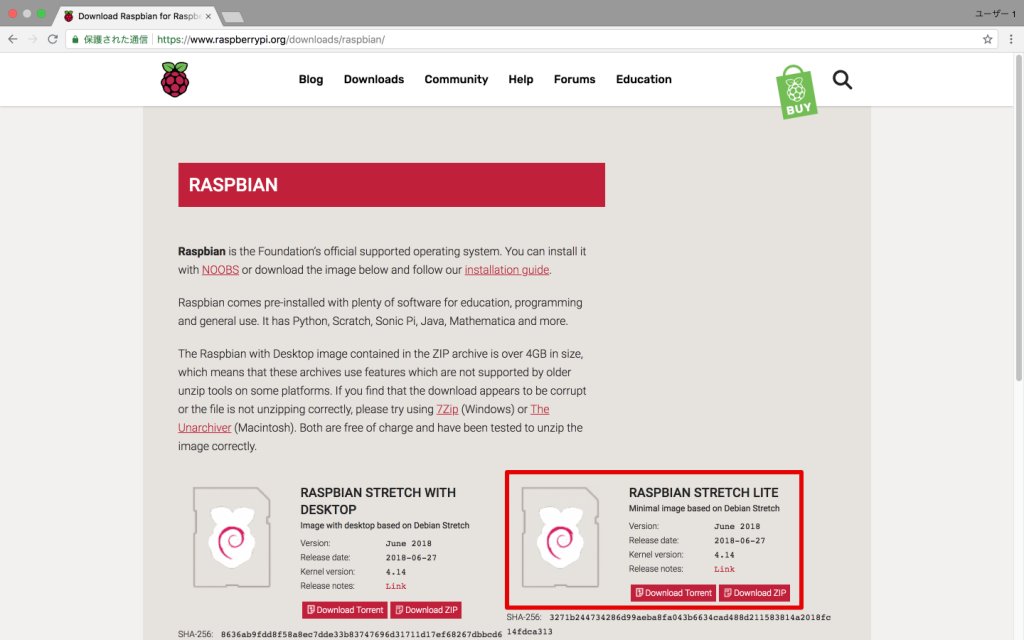
RaspbianStretch Liteの方がとても軽量で、みんなの第一候補だと思います。
また、その逆として、Raspbian Stretch Lite(デスクトップ環境がない)をしばらく使って
デスクとトップ環境が必要になってきた時に、デスクトップ環境を簡単にインストール方法が知りたいですね。
私はその一人でした、今日はその簡単な方法をご紹介します。(PIXEL GUIを3ステップで導入します)
目次
ステップ1
sudo apt-get install --no-install-recommends xserver-xorg
大量なパッケージがインストールされます。
ステップ2:
sudo apt-get install --no-install-recommends xinit
大量なパッケージがインストールされます。
ステップ3:(PIXEL GUI)
sudo apt-get install raspberrypi-ui-mods
大量なパッケージがインストールされます。
過ごし時間がかかります。
最後:
sudo reboot 0
最後も入れたら、4ステップですね。笑。
これで再起動すれば、デスクトップのログイン画面が表示されます。
では、必要なとき、お試しください。
この方法で、Raspbianをインストールしてからデスクトップ環境を導入すると
一番軽量の最小構成のラズバイデスクトップ環境にできるはずです。
デスクトップがいらない応用はそのままコマンドラインで運用になります。— 川島@ソフトウェア、Web、アプリ、IoT作るのが大好き (@kokensha_tech) 2018年9月9日
[amazonjs asin=”4062579774″ locale=”JP” title=”カラー図解 最新 Raspberry Piで学ぶ電子工作 作って動かしてしくみがわかる (ブルーバックス)”]
[amazonjs asin=”B07BHZP92R” locale=”JP” title=”Raspberry Pi 3 Model B+ スターターセット BASIC”]
obnizでブラウザーのデバイスの方向の検出機能を使ってサーボを動かす!レスポンスが良い!
raspberry pi zero w 秋葉原で購入!
2019年の機械学習を始めるにはscikit-learnでしょう!
About Author
カワシマ
3 Comments
xintではなくxinitでは?
ご指摘いただきありがとうございます!誤植でした!訂正致しました!
引き続き宜しくお願い致します。