obnizで連続回転サーボを動かしてみる!
連続回転サーボと言えば、この記事です!
この記事では、やっていることがほぼ同じですが
使うボードはobnizです!
最近とてもホットなボードですね。
何と言っても最大な特徴はjavascriptですぐネットワークに接続済の応用が書けます!
今回のプログラムは、obnizの公式サイトにある、サンプルコードをちょっと修正して使いました。
リンクはこちらです:
目次
プログラム
<!DOCTYPE html>
<html>
<head>
  <meta charset="utf-8">
  <meta name="viewport" content="width=device-width, initial-scale=1">

  <link rel="stylesheet" href="https://maxcdn.bootstrapcdn.com/bootstrap/4.0.0/css/bootstrap.min.css" integrity="sha384-Gn5384xqQ1aoWXA+058RXPxPg6fy4IWvTNh0E263XmFcJlSAwiGgFAW/dAiS6JXm" crossorigin="anonymous">
  <script  src="https://code.jquery.com/jquery-3.2.1.min.js" integrity="sha256-hwg4gsxgFZhOsEEamdOYGBf13FyQuiTwlAQgxVSNgt4="  crossorigin="anonymous"></script>
  <script src="https://cdnjs.cloudflare.com/ajax/libs/popper.js/1.12.3/umd/popper.min.js" integrity="sha384-vFJXuSJphROIrBnz7yo7oB41mKfc8JzQZiCq4NCceLEaO4IHwicKwpJf9c9IpFgh" crossorigin="anonymous"></script>
  <script src="https://maxcdn.bootstrapcdn.com/bootstrap/4.0.0/js/bootstrap.min.js" integrity="sha384-JZR6Spejh4U02d8jOt6vLEHfe/JQGiRRSQQxSfFWpi1MquVdAyjUar5+76PVCmYl" crossorigin="anonymous"></script>

  <script src="https://unpkg.com/[email protected]/obniz.js"></script>
</head>

<body>
<div id="obniz-debug"></div>
<br>
<div class="text-center">
  <h1> Pet Feeder </h1>
</div>

<button id="meal">Feeding</button>
<div id="dispMeal"></div>

<script>

function getTime(){
  var dateTime=new Date();
  var hour = dateTime.getHours();
  var minute = dateTime.getMinutes();
  return hour + ":" + minute;
}

/* This will be over written on obniz.io webapp page */
var obniz = new Obniz("YOUR_OBNIZ_ID");

obniz.onconnect = async function () {
  var numberOfMeal = 0;
  var lastTimeMeal;
  $("#dispMeal").text("Number of feeding : "+numberOfMeal)
  var servo = obniz.wired("ServoMotor", {gnd:0, vcc:1, signal:2});

  $("#meal").click(async function(){
    numberOfMeal++
    lastTimeMeal = getTime();
    $("#dispMeal").text("Number of feeding : "+numberOfMeal+", The last time : "+lastTimeMeal)
    servo.angle(95.0);
    await obniz.wait(10000);
    servo.angle(90.0);
  })
}

</script>
</body>
</html>
接続
連続回転サーボはこちらです。
前の記事と同じものです。
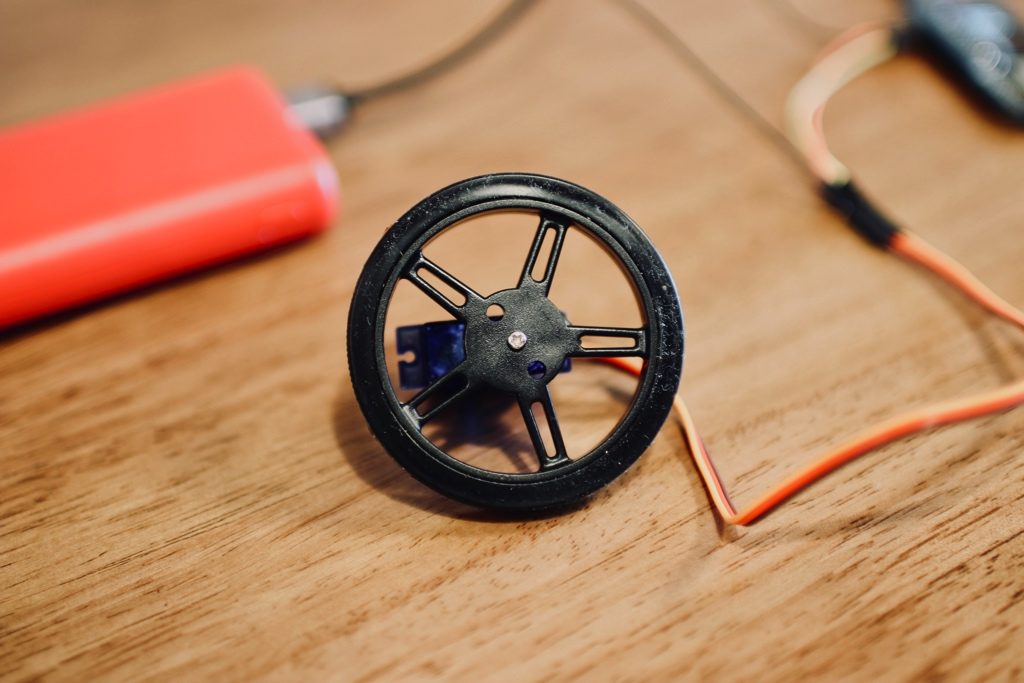
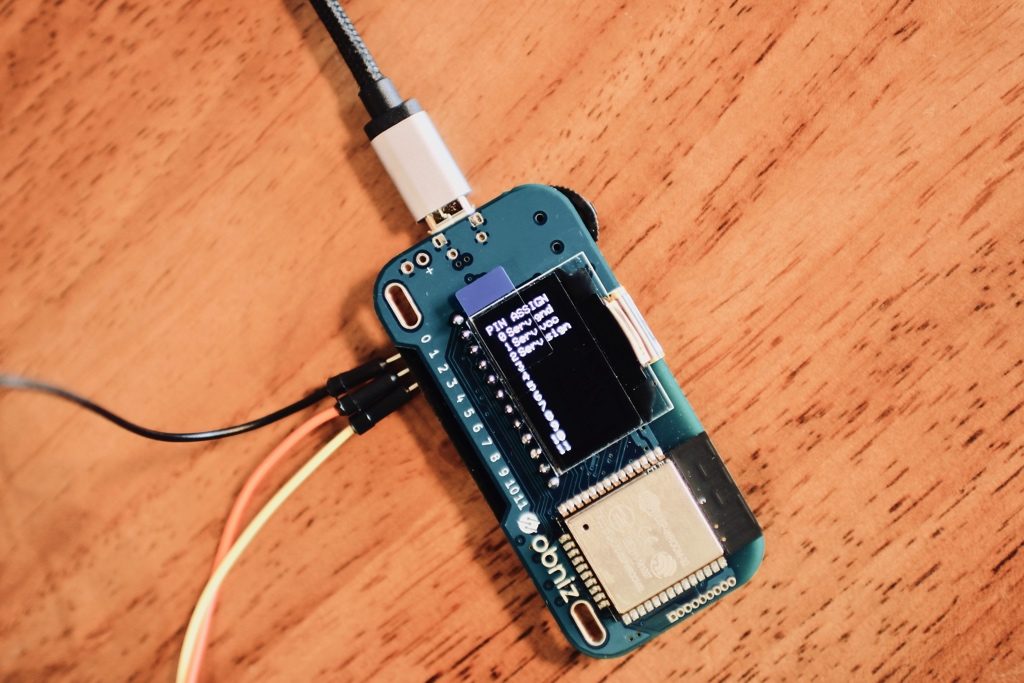
接続も説明がいらないぐらい簡単です。
写真を見れば分かるレベルです!笑
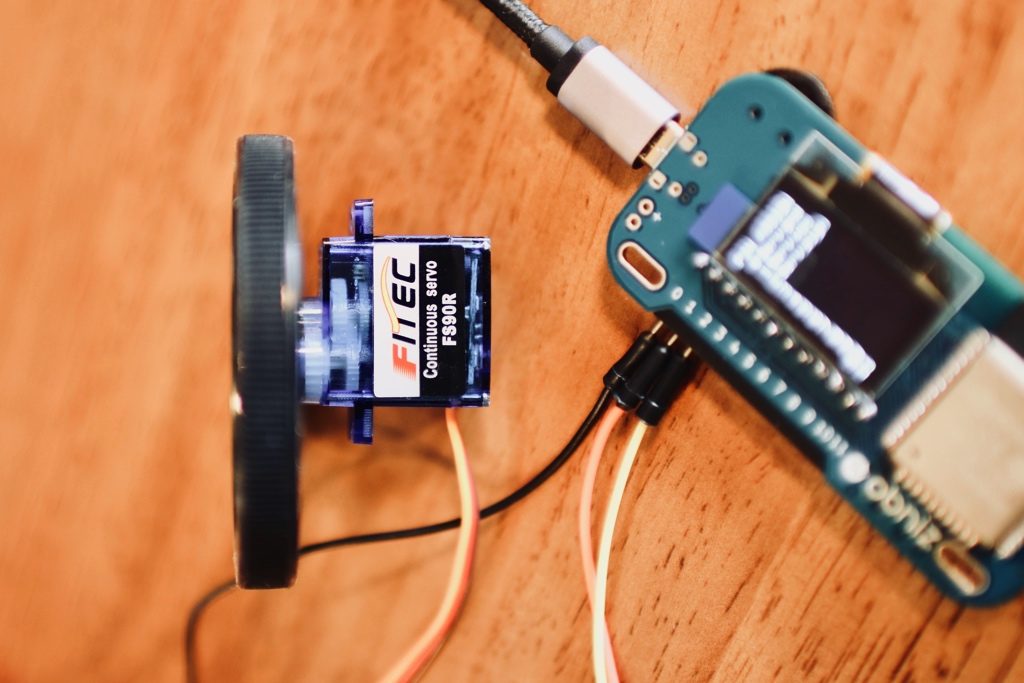
全体像(バッテリーが見えないですが)
動作
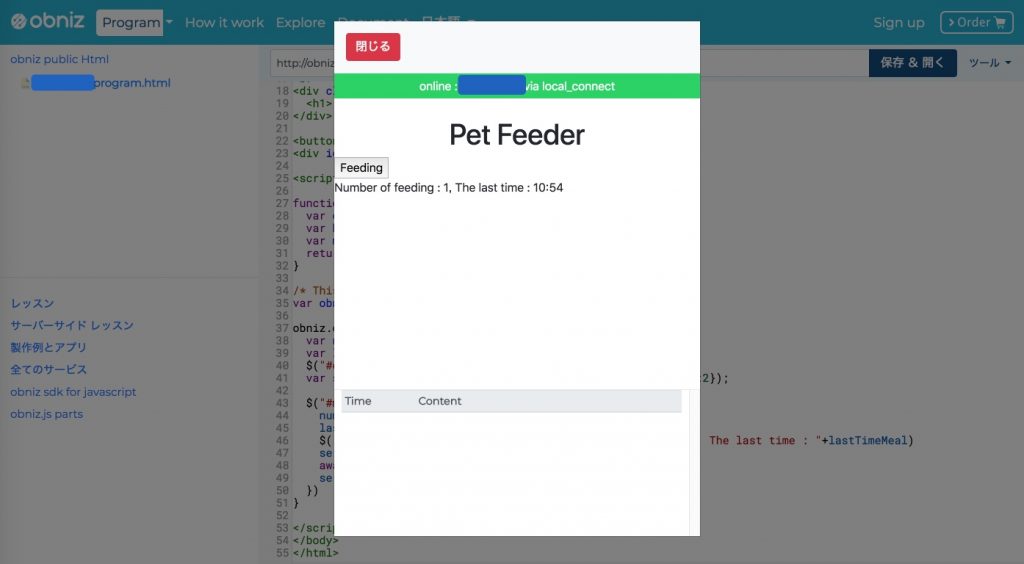
obniz.ioでプログラムを起動して
上のコードをコピーして、「保存&開く」を押すと
下の画面で現れて、プログラムが実行されます。
Feedingボタンを押せば、サーボが回転し始めます。
servo.angle(95.0);
10秒間動いて、停止します。
90度に設定すると、中間に位置するイメージで連続回転サーボは停止します。
95度はゆっくり左に回転します。
85度はゆっくり右に回転します。
90度は中間の基準点ですね。
0度は、最速に右に回転します。
180度は、最速に左に回転します。
皆さんも試してみてください。
ここももちろん、同じように、ポテンショメーターに繋げて、同じ実験もできるはずです!
まとめ
本当に簡単です!
これは1番最初の感動ですね!
簡単すぎて、写真の素材も足りないですし、文書も短くて困っているんです。笑。
これからもどんどんobnizを使って、いろんな実験をして
発信して行きたいと思います。
ではまた!
[amazonjs asin=”B07DD6FK8G” locale=”JP” title=”obniz (オブナイズ)”]
