RaspberryPi+PythonライブラリーRPi.GPIOでサーボを動かす!
RaspberryPiでPythonのライブラリーRPi.GPIOを使って、サーボモーターを回してみます!
とても簡単です!

Pythonプログラム
今回は、RPi.GPIOというライブラリーを使います。
もしあなたのRaspberry Piにまだ入っていないのであれば、ここを参照してインストールしてください。
https://pypi.org/project/RPi.GPIO/
import RPi.GPIO as GPIO
import time

GPIO.setmode(GPIO.BCM)
gp_out = 4
GPIO.setup(gp_out, GPIO.OUT)

servo = GPIO.PWM(gp_out, 50)
servo.start(0)

for i in range(3):
    servo.ChangeDutyCycle(4)
    time.sleep(0.5)
    servo.ChangeDutyCycle(3)
    time.sleep(0.5)
    servo.ChangeDutyCycle(10)
    time.sleep(0.5)
    servo.ChangeDutyCycle(8)
    time.sleep(0.5)
servo.stop()
GPIO.cleanup()
GPIO.PWM( [ピン番号] , [周波数Hz] )
SG90はPWMサイクル:20ms(=50Hz)なので、周波数を50に指定する
servo = GPIO.PWM(gp_out, 50)
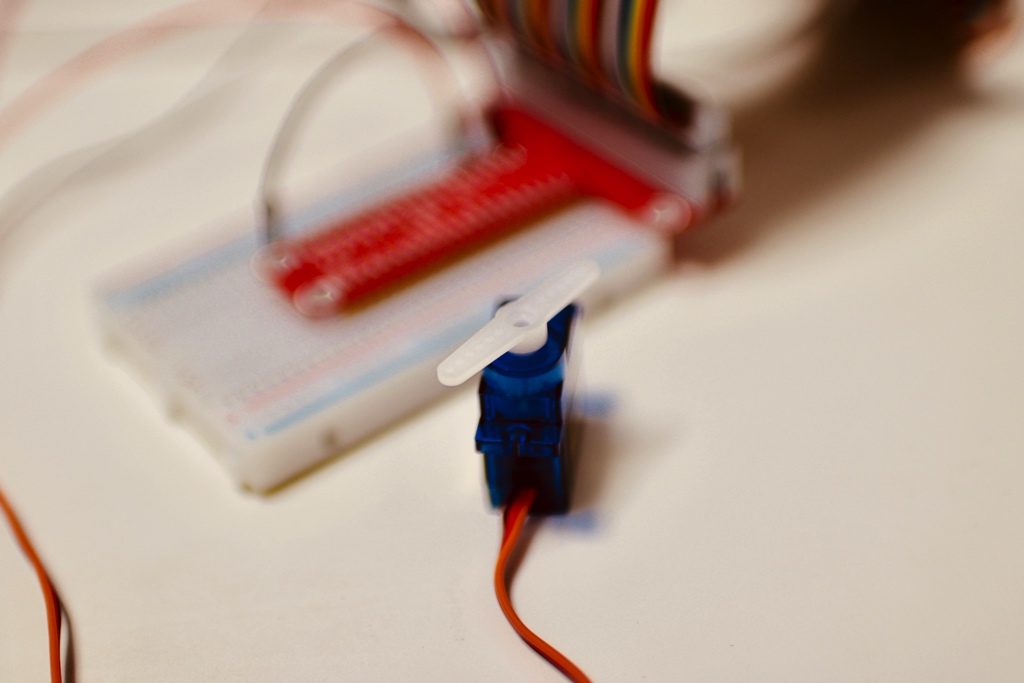
ちなみに、マイクロサーボSG90の主な仕様は下記となります。
- PWMサイクル:20mS
- 制御パルス:0.5ms~2.4ms
- 制御角:±約90°(180°)
- 配線:茶=GND、赤=電源[+]、橙=制御信号 [JRタイプ]
- トルク:1.8kgf・cm
- 動作速度:0.1秒/60度
- 動作電圧:4.8V(~5V)
- 温度範囲:0℃~55℃
- 外形寸法:22.2x11.8x31mm
- 重量:9g
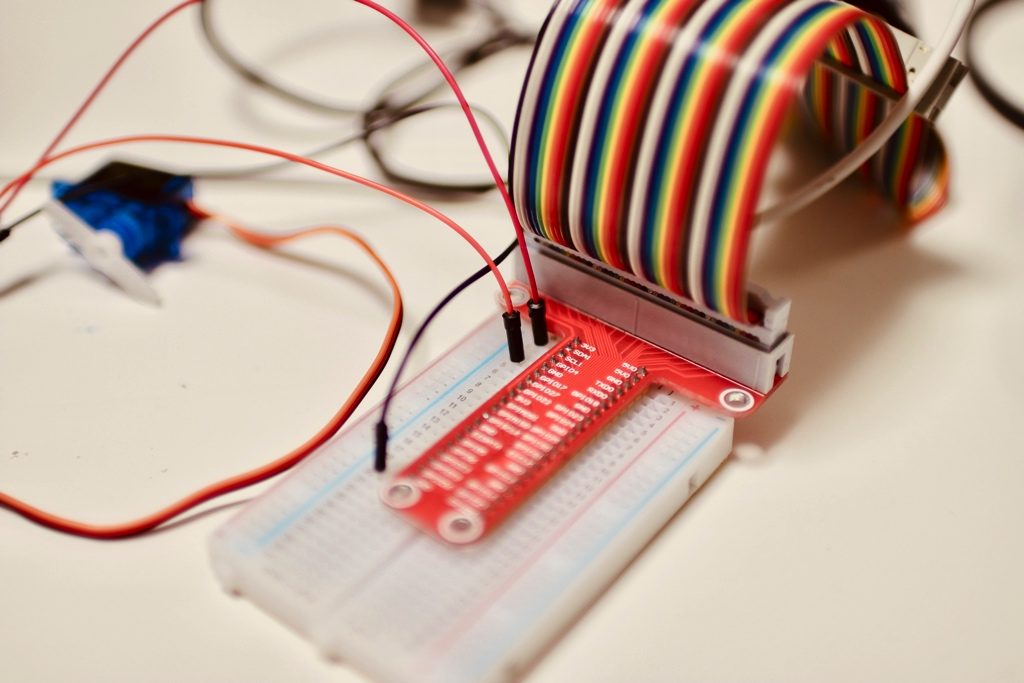
ハードウェア接続

茶=GND > Raspberryi PiのGND
赤=電源[+] > Raspberry Piの3V3
橙=制御信号 > Raspberry PiのGPIO4(プログラムに合わせる)

プログラムの実行
python servo.py
これで、サーボが動きます!
とても簡単でした!
[amazonjs asin=”B07HLMTXQ5″ locale=”JP” title=”towerpro sg90 mini micro digital servo 9g for rc models”]
[amazonjs asin=”B01NAHBSUD” locale=”JP” title=”Raspberry Pi 3 Model B V1.2 (日本製) 国内正規代理店品”]


